

Ratchet & Clank: Rift Apart how to unlock the RYNO 8 — complete Spybot location guide
Warning: There are pocket-size spoilers for Ratchet & Clank: Rift Apart in this article
A version of the RYNO has appeared in well-nigh every single Ratchet & Clank game to date. The duo's latest risk, Ratchet & Clank: Rift Autonomously, is no exception. This uber-powerful gun can not only open up upward portals to other dimensions; it'due south also the game's most lethal weapon.
Y'all'll definitely want it unlocked before going contiguous with the game's final dominate. Ratchet & Clank: Rift Autonomously's RYNO will unlock once you've collected all ten hidden Spybots and returned to Ms. Zurkon, the weapon vendor.
- Ratchet & Clank: Rift Autonomously review
- The best PS5 games in 2021
These adorable little robots are dotted throughout the diverse planets you'll explore. While most are easy to find, a few are quite well subconscious. Don't worry though. Below, you'll find a total guide to each Spybot'southward location, every bit well as a method for unlocking a handy gadget that makes tracking them all down easier.
How to unlock the Map-o-Matic
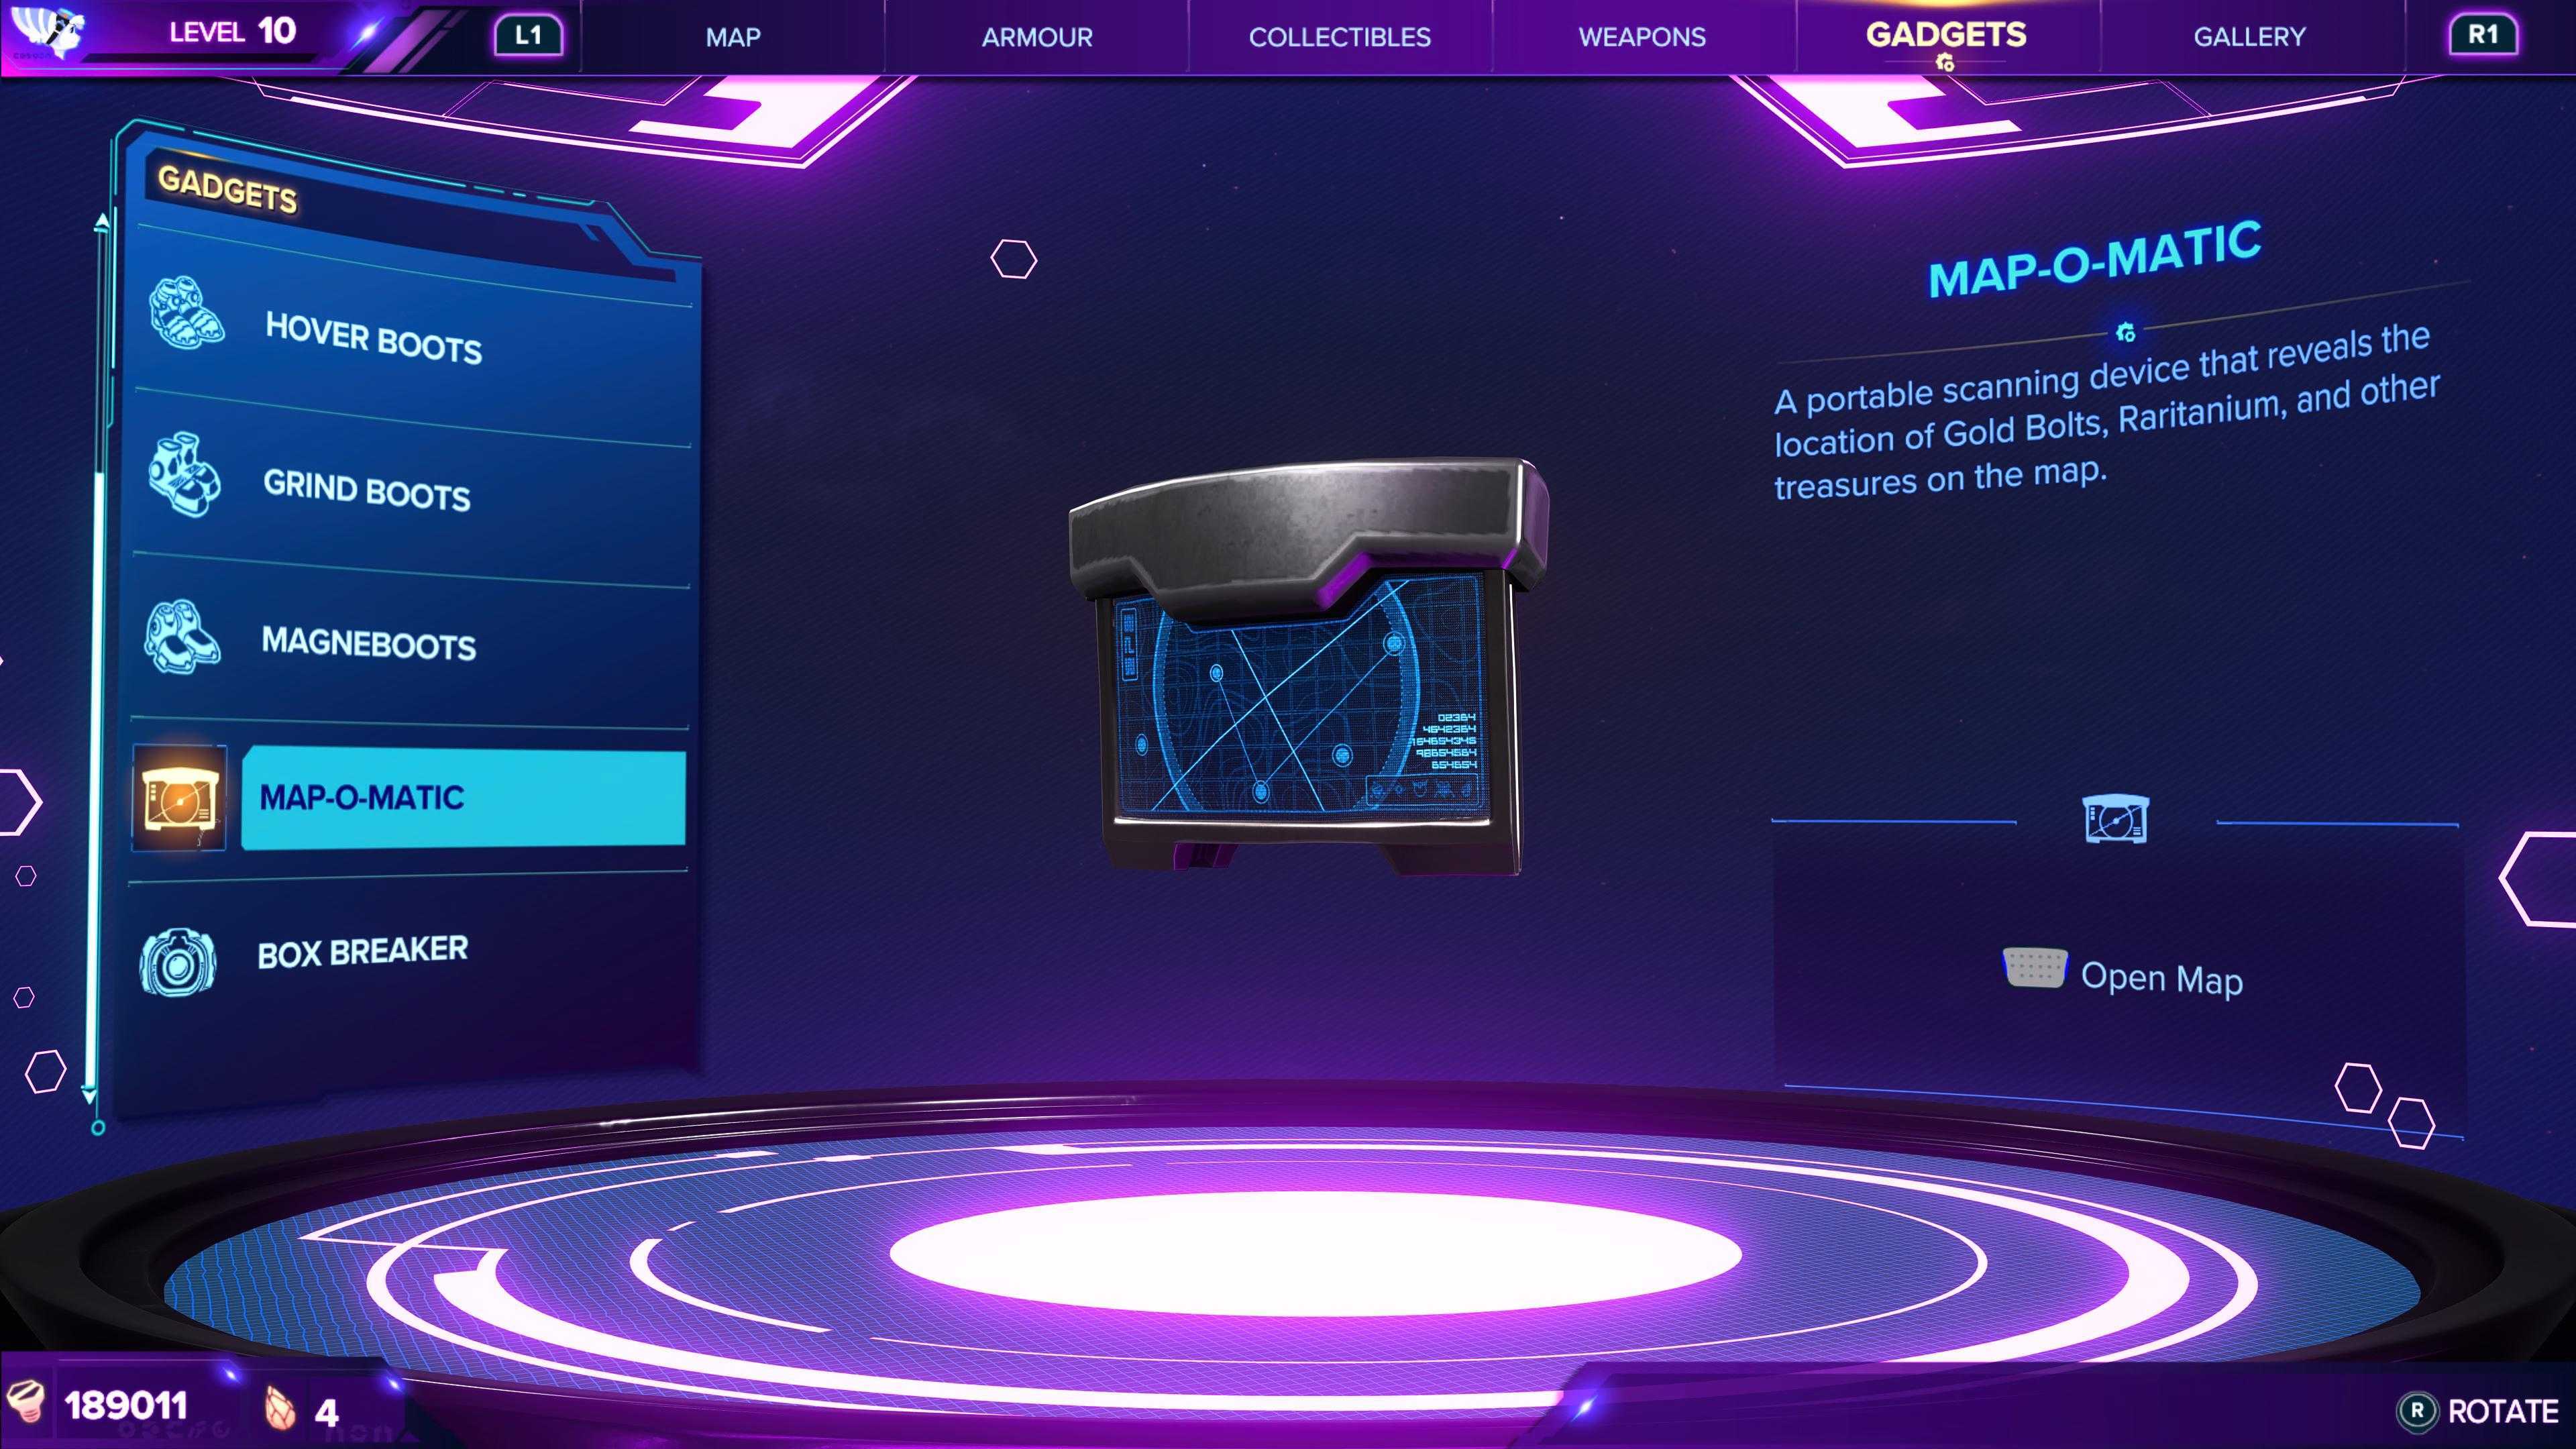
If you want to make hunting down Ratchet & Clank: Rift Apart's Spybots even easier, then the Map-o-Matic is an essential gadget. This useful tool marks the location of every Spybot (plus Gilt Bolts and Raritanium sources) on your map.
The Map-o-Matic is located on the pirate planet of Ardolis, and is tied to the optional objective labeled "Treasure Hunt" in your mission log. Yous tin can begin this side quest afterward saving Pierre Le Fer from the pirates during the master entrada.
It'due south a pretty short side quest overall, in which you must articulate a few rooms of enemies earlier claiming your prize from a treasure chest. Merely follow the blue marker on your map (information technology'll automatically spawn when you commencement country on the planet) and y'all'll have the Map-o-Matic in your possession in no time.
You tin't unlock this gadget until quite late in the game, as Ardolis is the eighth planet you lot'll visit. Withal, after obtaining the Map-o-Matic yous can return to all previously explored planets and hoover up whatsoever missing Spybots before venturing into the game'due south thrilling climax.
Ratchet & Clank: Rift Autonomously Spybot Location Guide
Nefarious Metropolis - Spybot #i
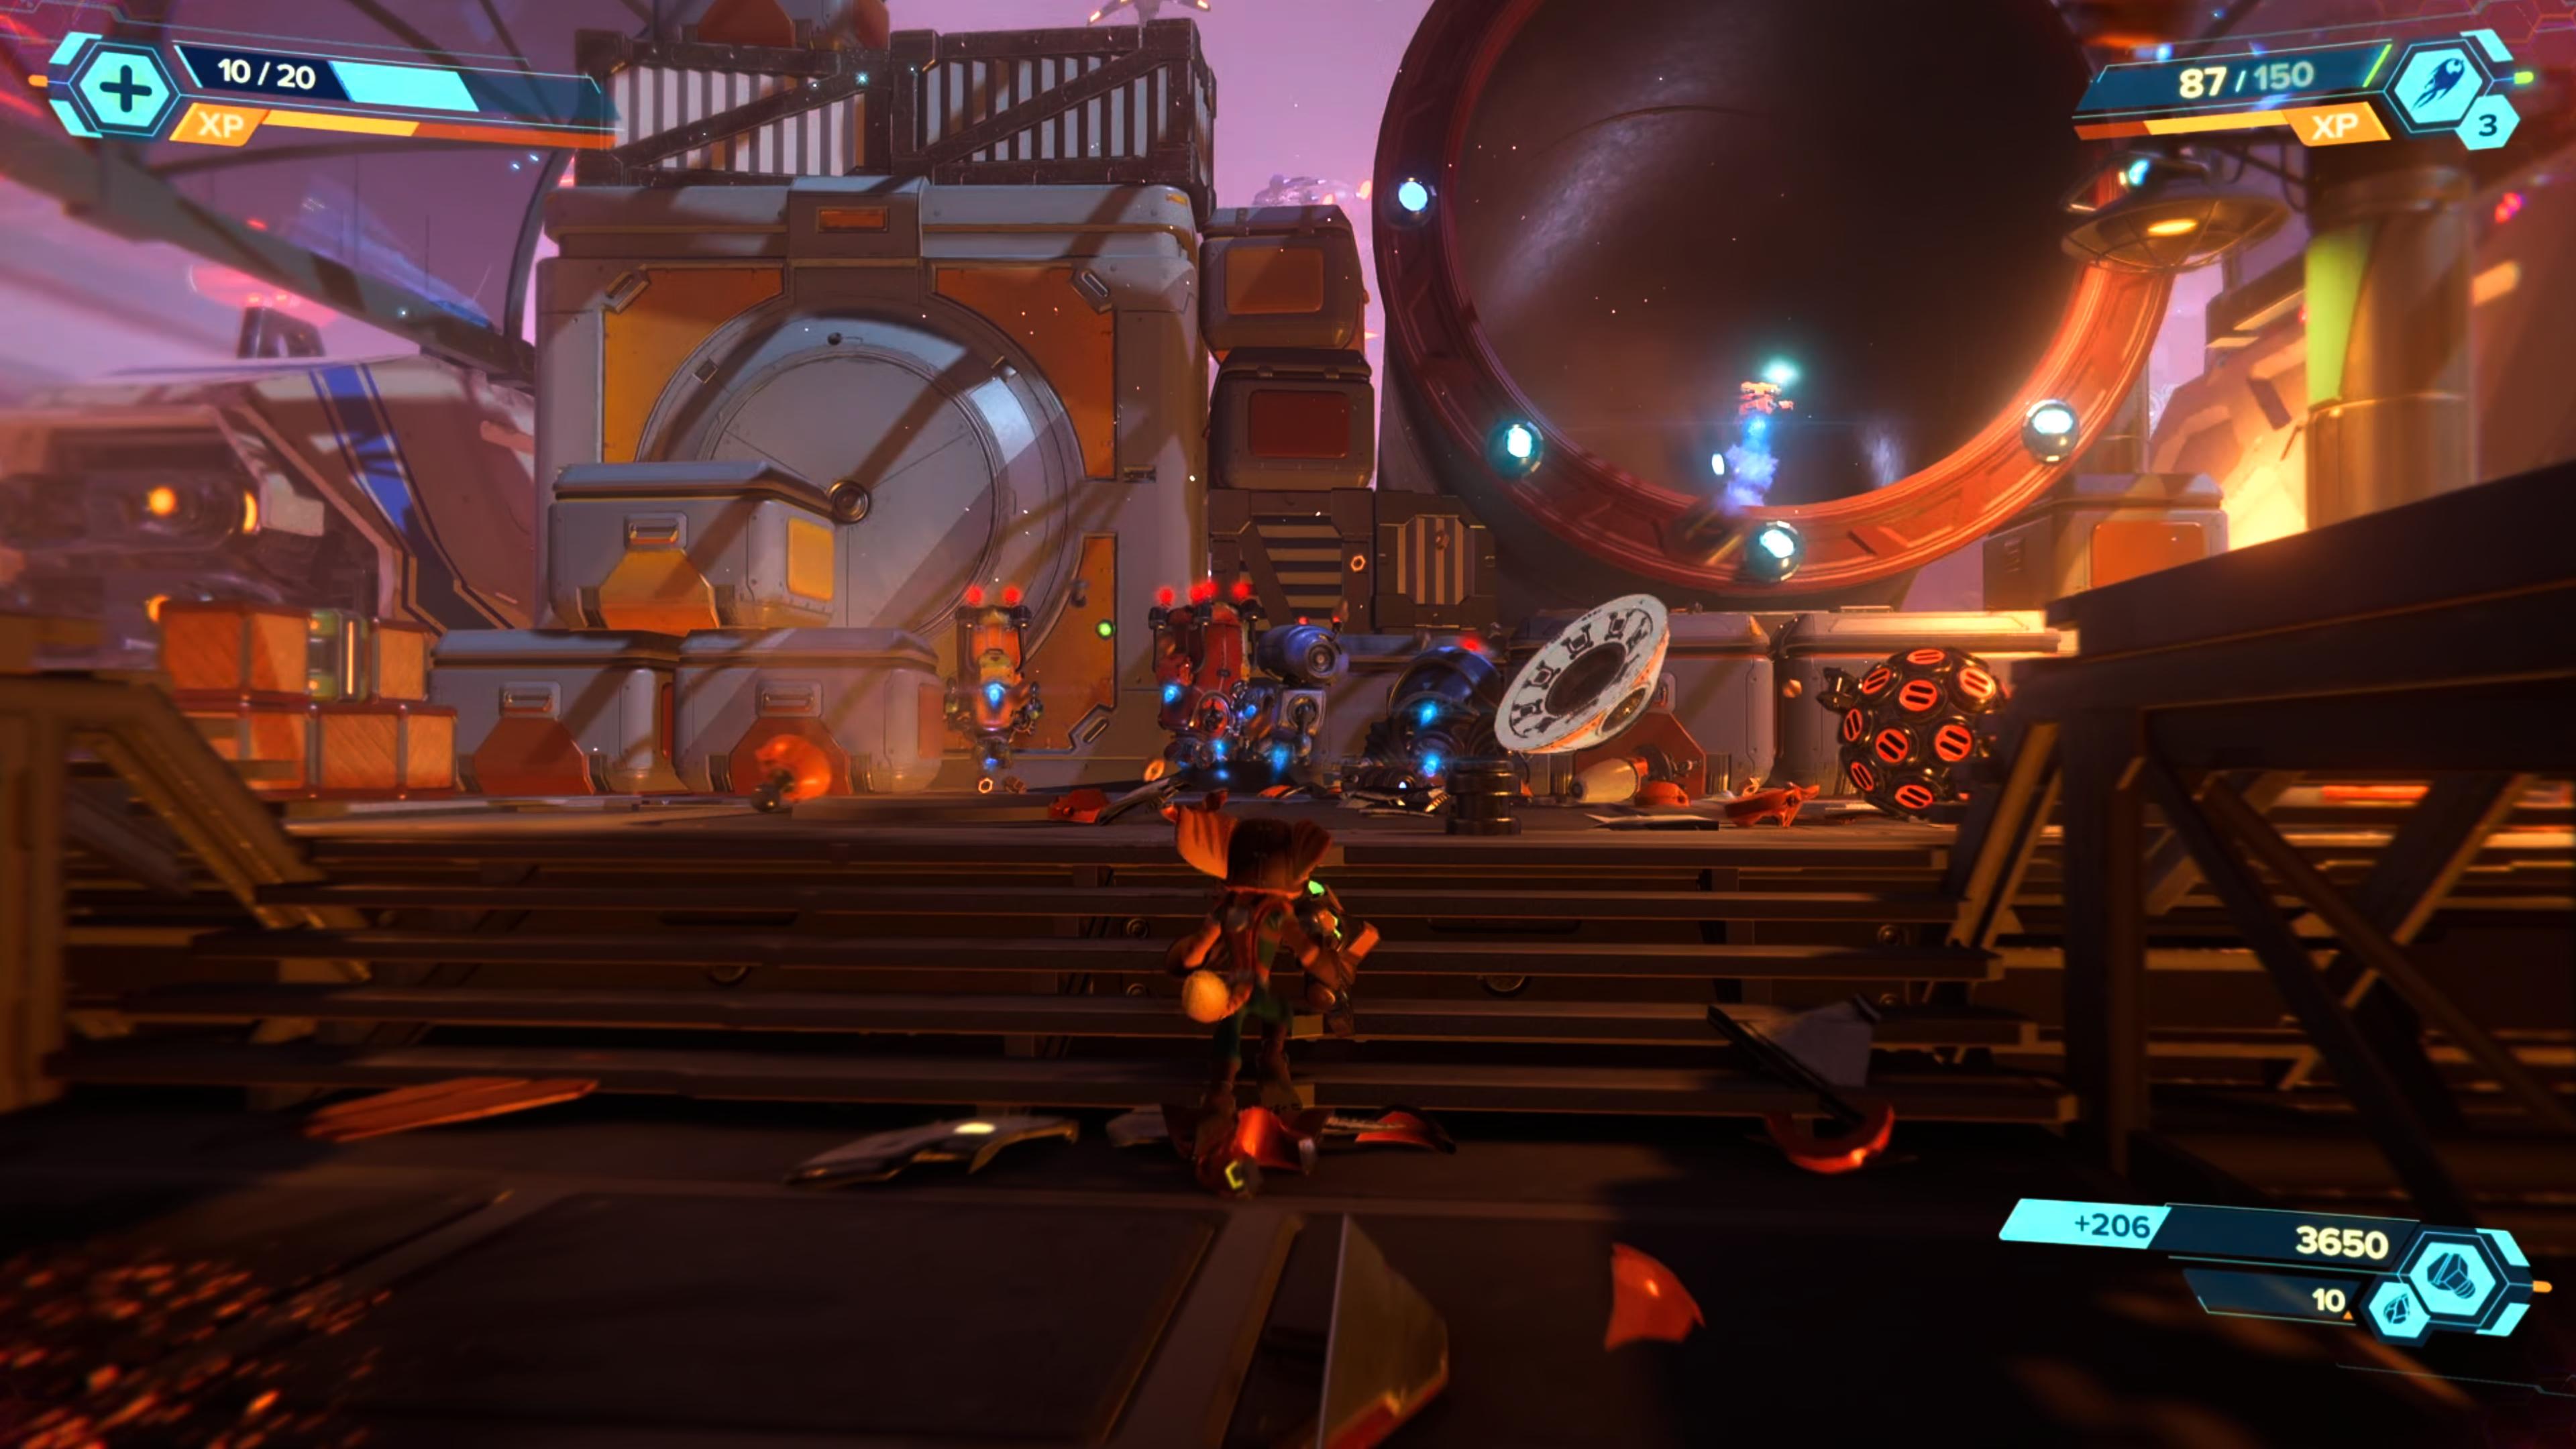
The first Spybot in the game is tied to the outset optional objective, "Search the manufacturing plant".
This optional objective will appear on your mission log automatically later on arriving at the main marketplace square in Nefarious City. Follow the mission mark, using the gravity boots to climb up the side of the building on your right.
This will accept you to a walkway that leads yous through to a series of factories containing uncomplicated platforming challenges. Afterward this, you'll confront a couple of enemy encounters. This section is extremely linear, so only proceed following the pathway and y'all'll find the Spybot at the end of the manufactory inside a large pipage.
You can't return to the main quest without picking up the Spybot, so once y'all showtime the optional objective, yous're essentially guaranteed to choice up the fiddling bot.
Sargasso - Spybot #2
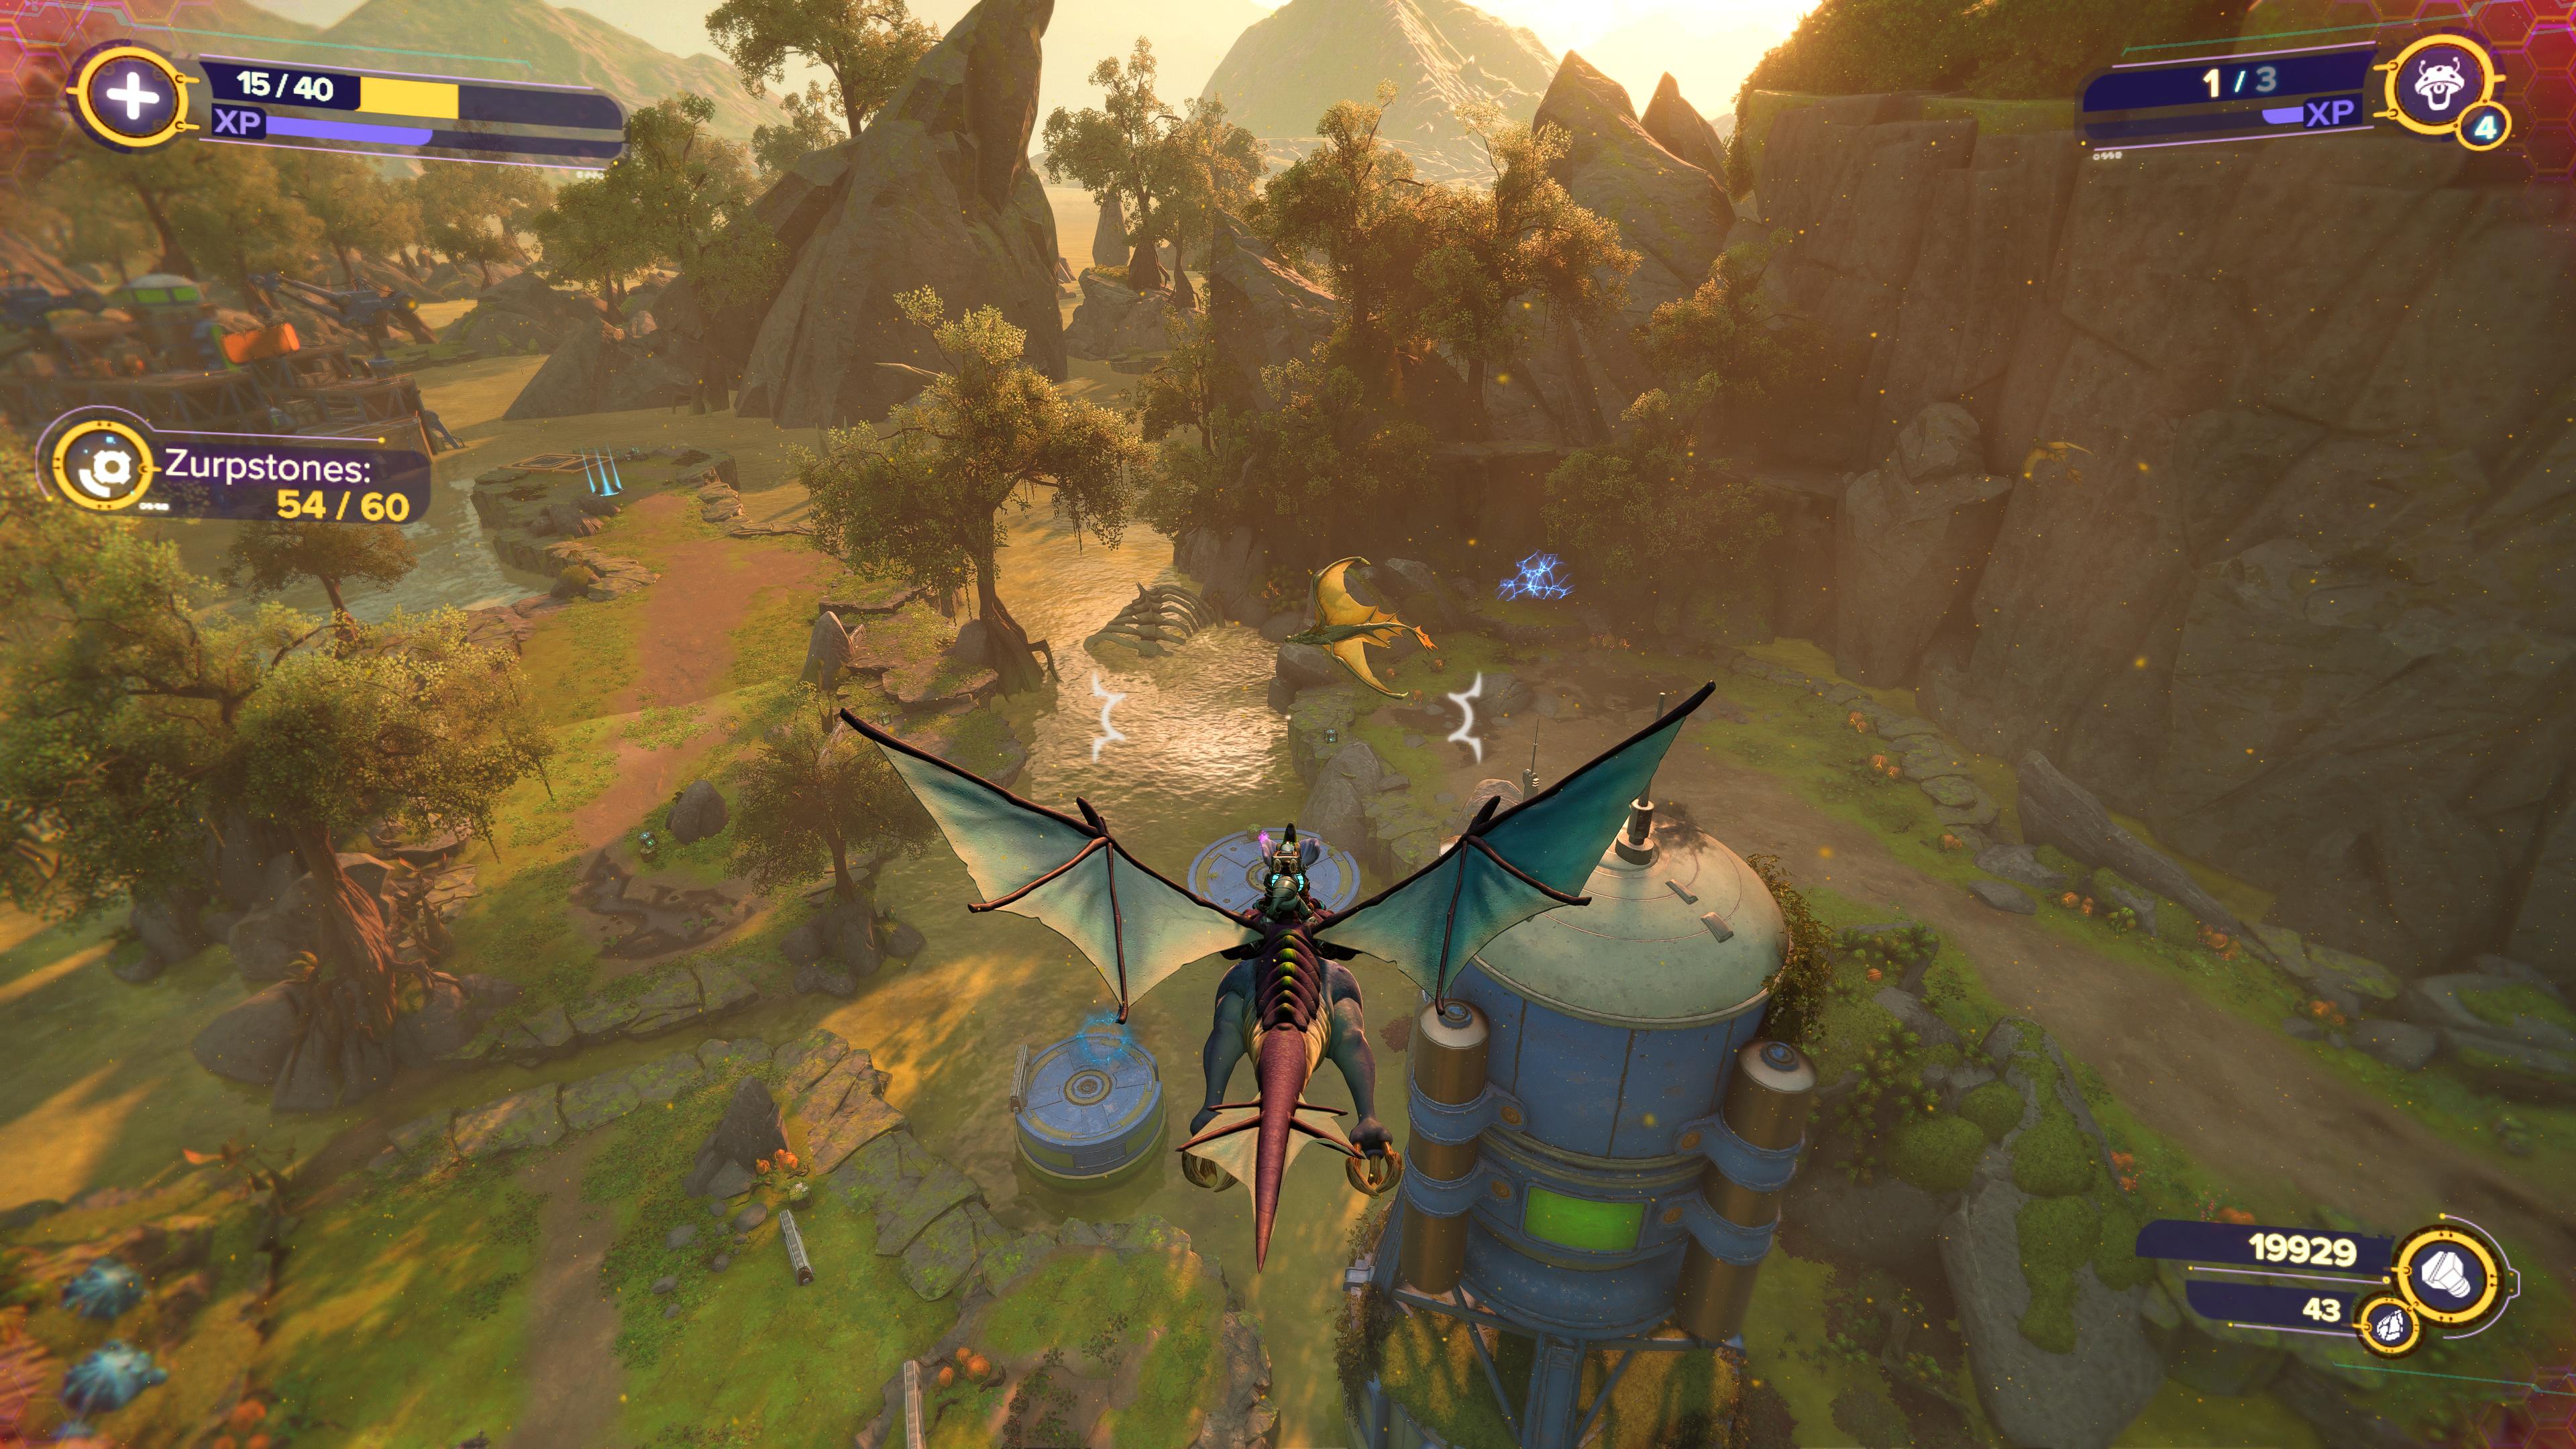
You can't collect this Spybot the commencement fourth dimension you visit Sargasso. You need to wait until afterwards in the game, when a new optional objective on the planet called "Aid Trudi" unlocks. Yous'll know when it'due south available, as it'll appear in your mission log when you lot select the planet from your ship.
This quest requires y'all to collect pocket-sized imperial items called Zurpstones to feed to a dragon-type creature named Trudi. Afterwards completing the relatively unproblematic first two parts of the mission, in which you must collect 30 Zurpstones dotted around the map, you'll then have to pick upwards the remaining 30 with aid from Trudi herself.
You tin at present wing on Trudi's back. Bated from being awesome, this too makes collecting the remaining Zurpstones a breeze. Don't worry about the few located on tiptop of tall structures that seem incommunicable to collect. After picking upward 45 Zurpstones, Trudi gains the ability to spit fire, which you tin utilize to assemble the residuum.
Afterwards gathering all threescore Zurpstones, return to the Mort who gave you the quest, and you'll be rewarded with a Spybot for your efforts.
Scarstu Debris Field - Spybot #3 and Spybot #four
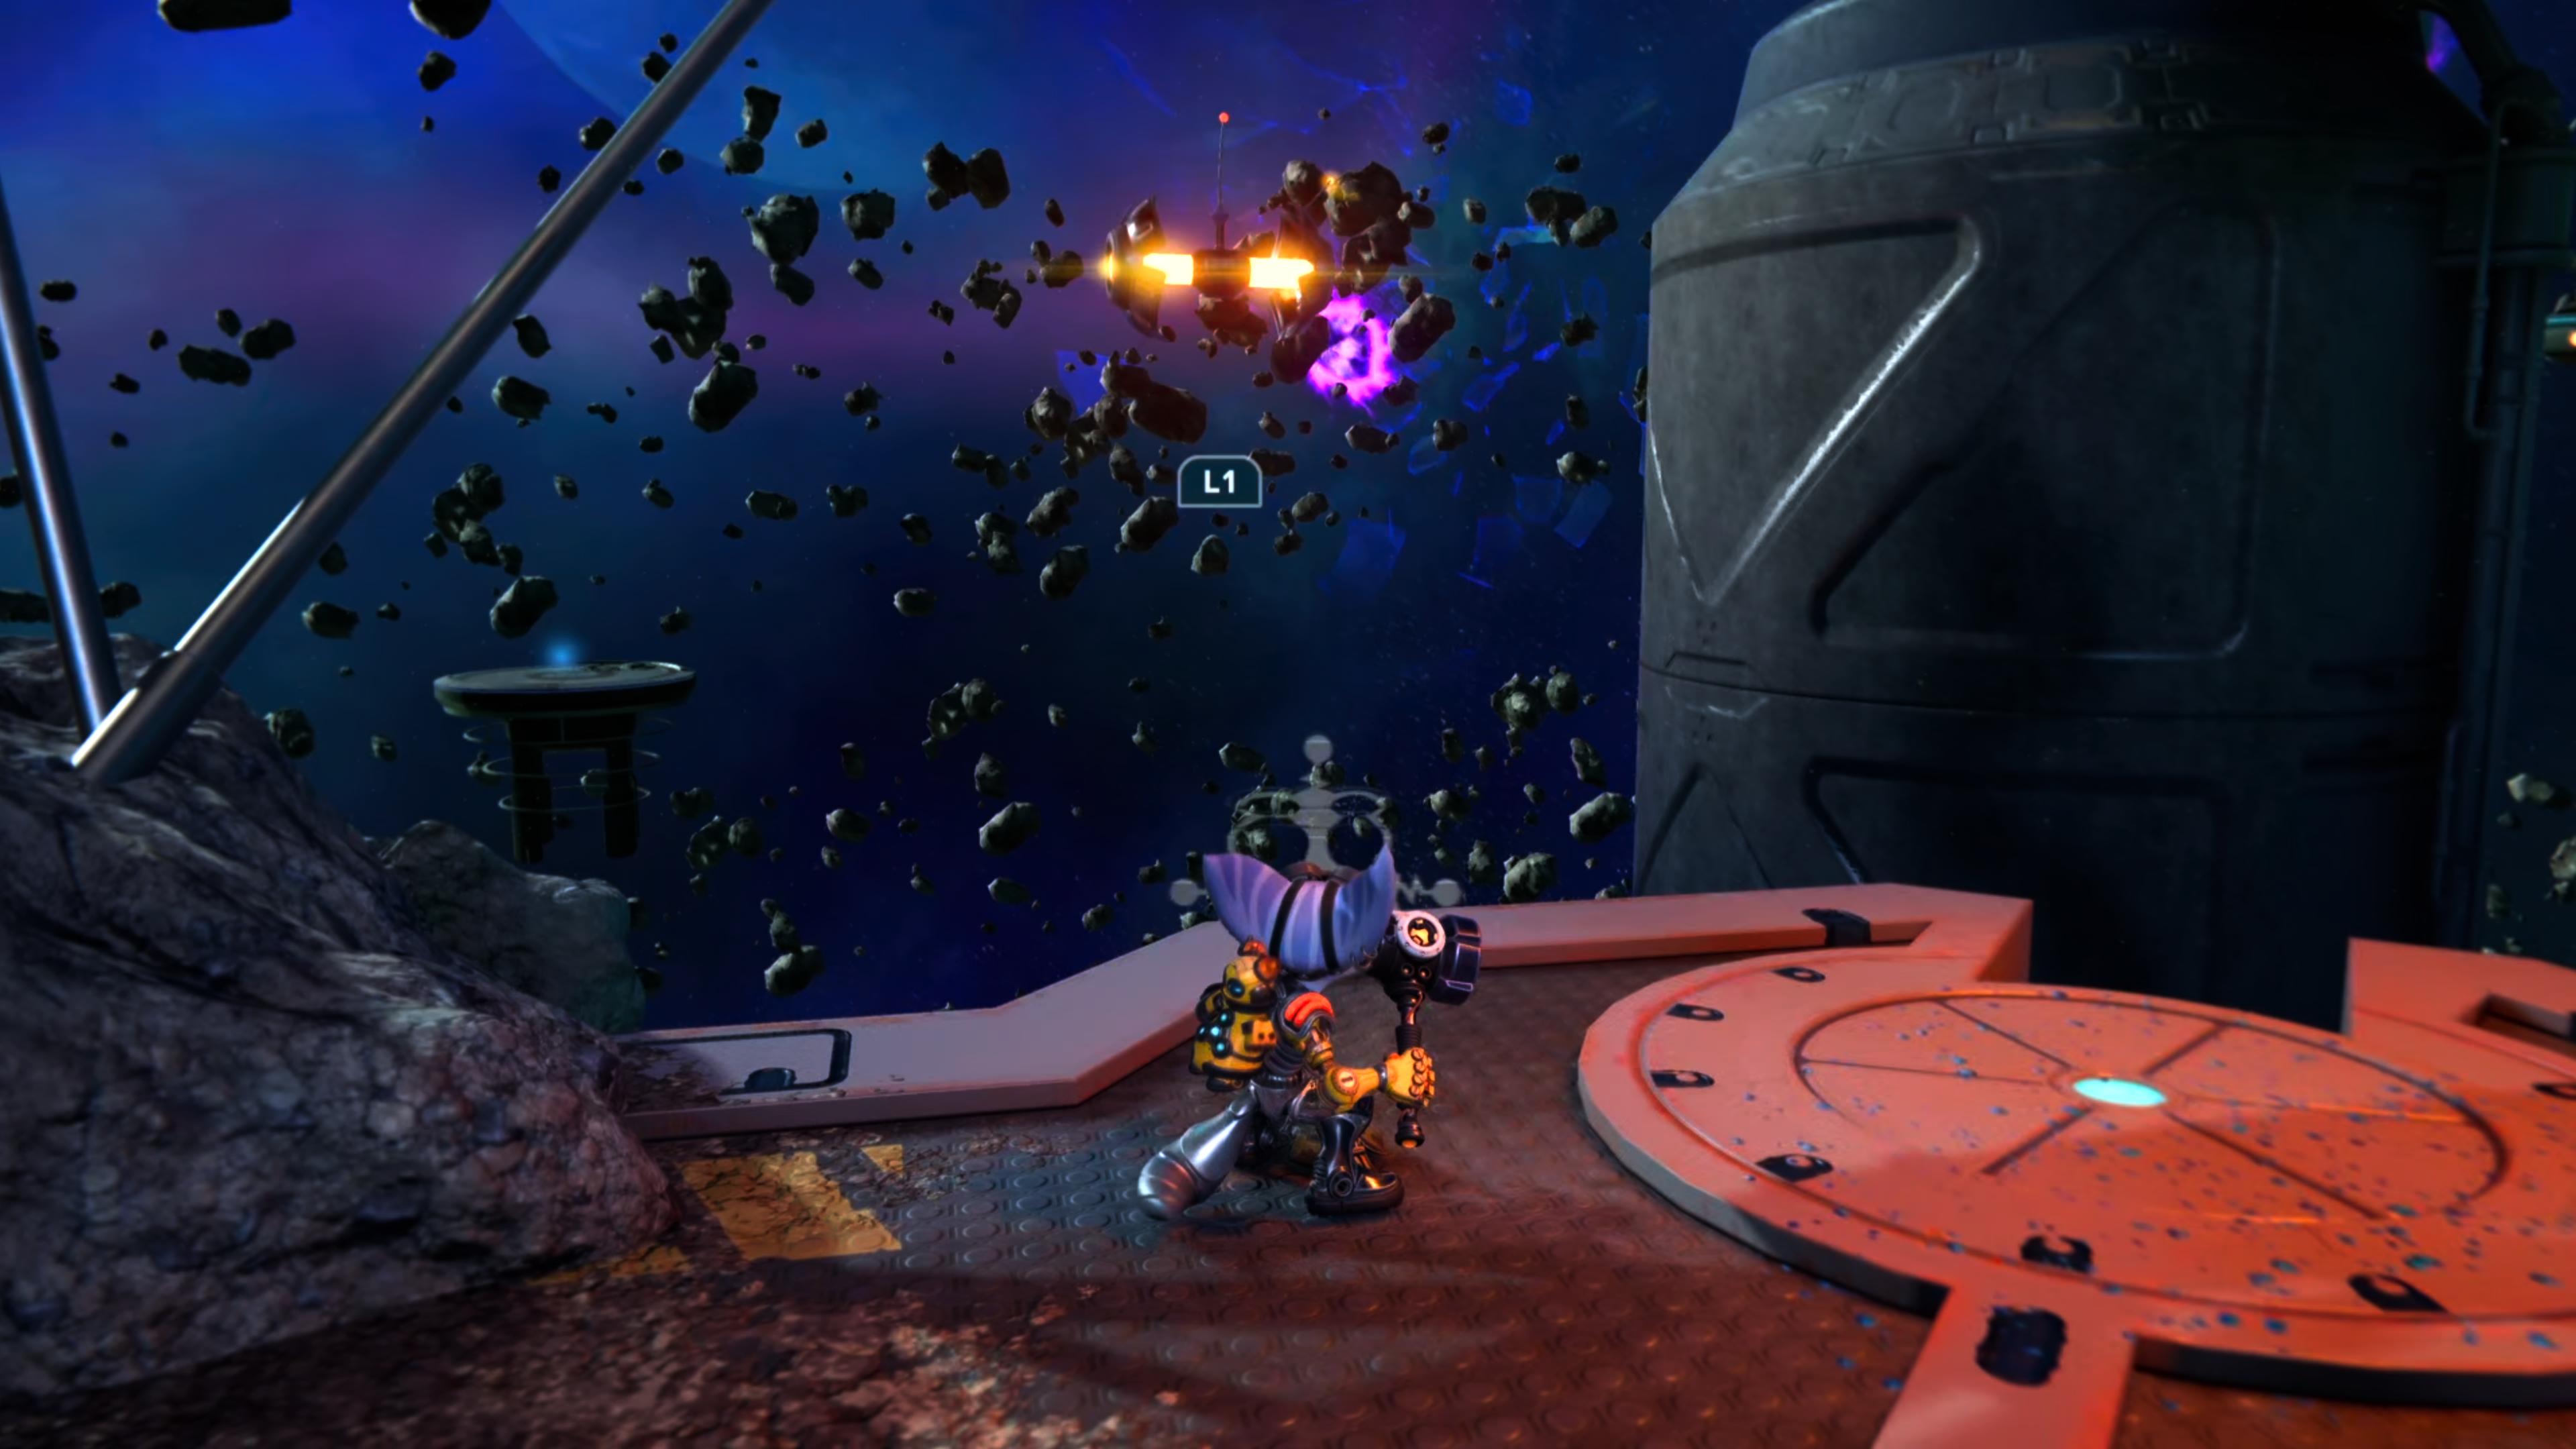
This planet actually contains two Spybots, neither of which is available on your start visit to the planet.
The first Spybot on this infinite station requires the Hurlshot gadget, which you'll automatically unlock during the class of the story on the sixth planet, Torren Four. One time y'all have this tool, you lot'll find a xanthous Hurlshot node to the right of the entrance to Zurkie's bar. Apply this node to fling yourself beyond to a floating platform that contains a Spybot.
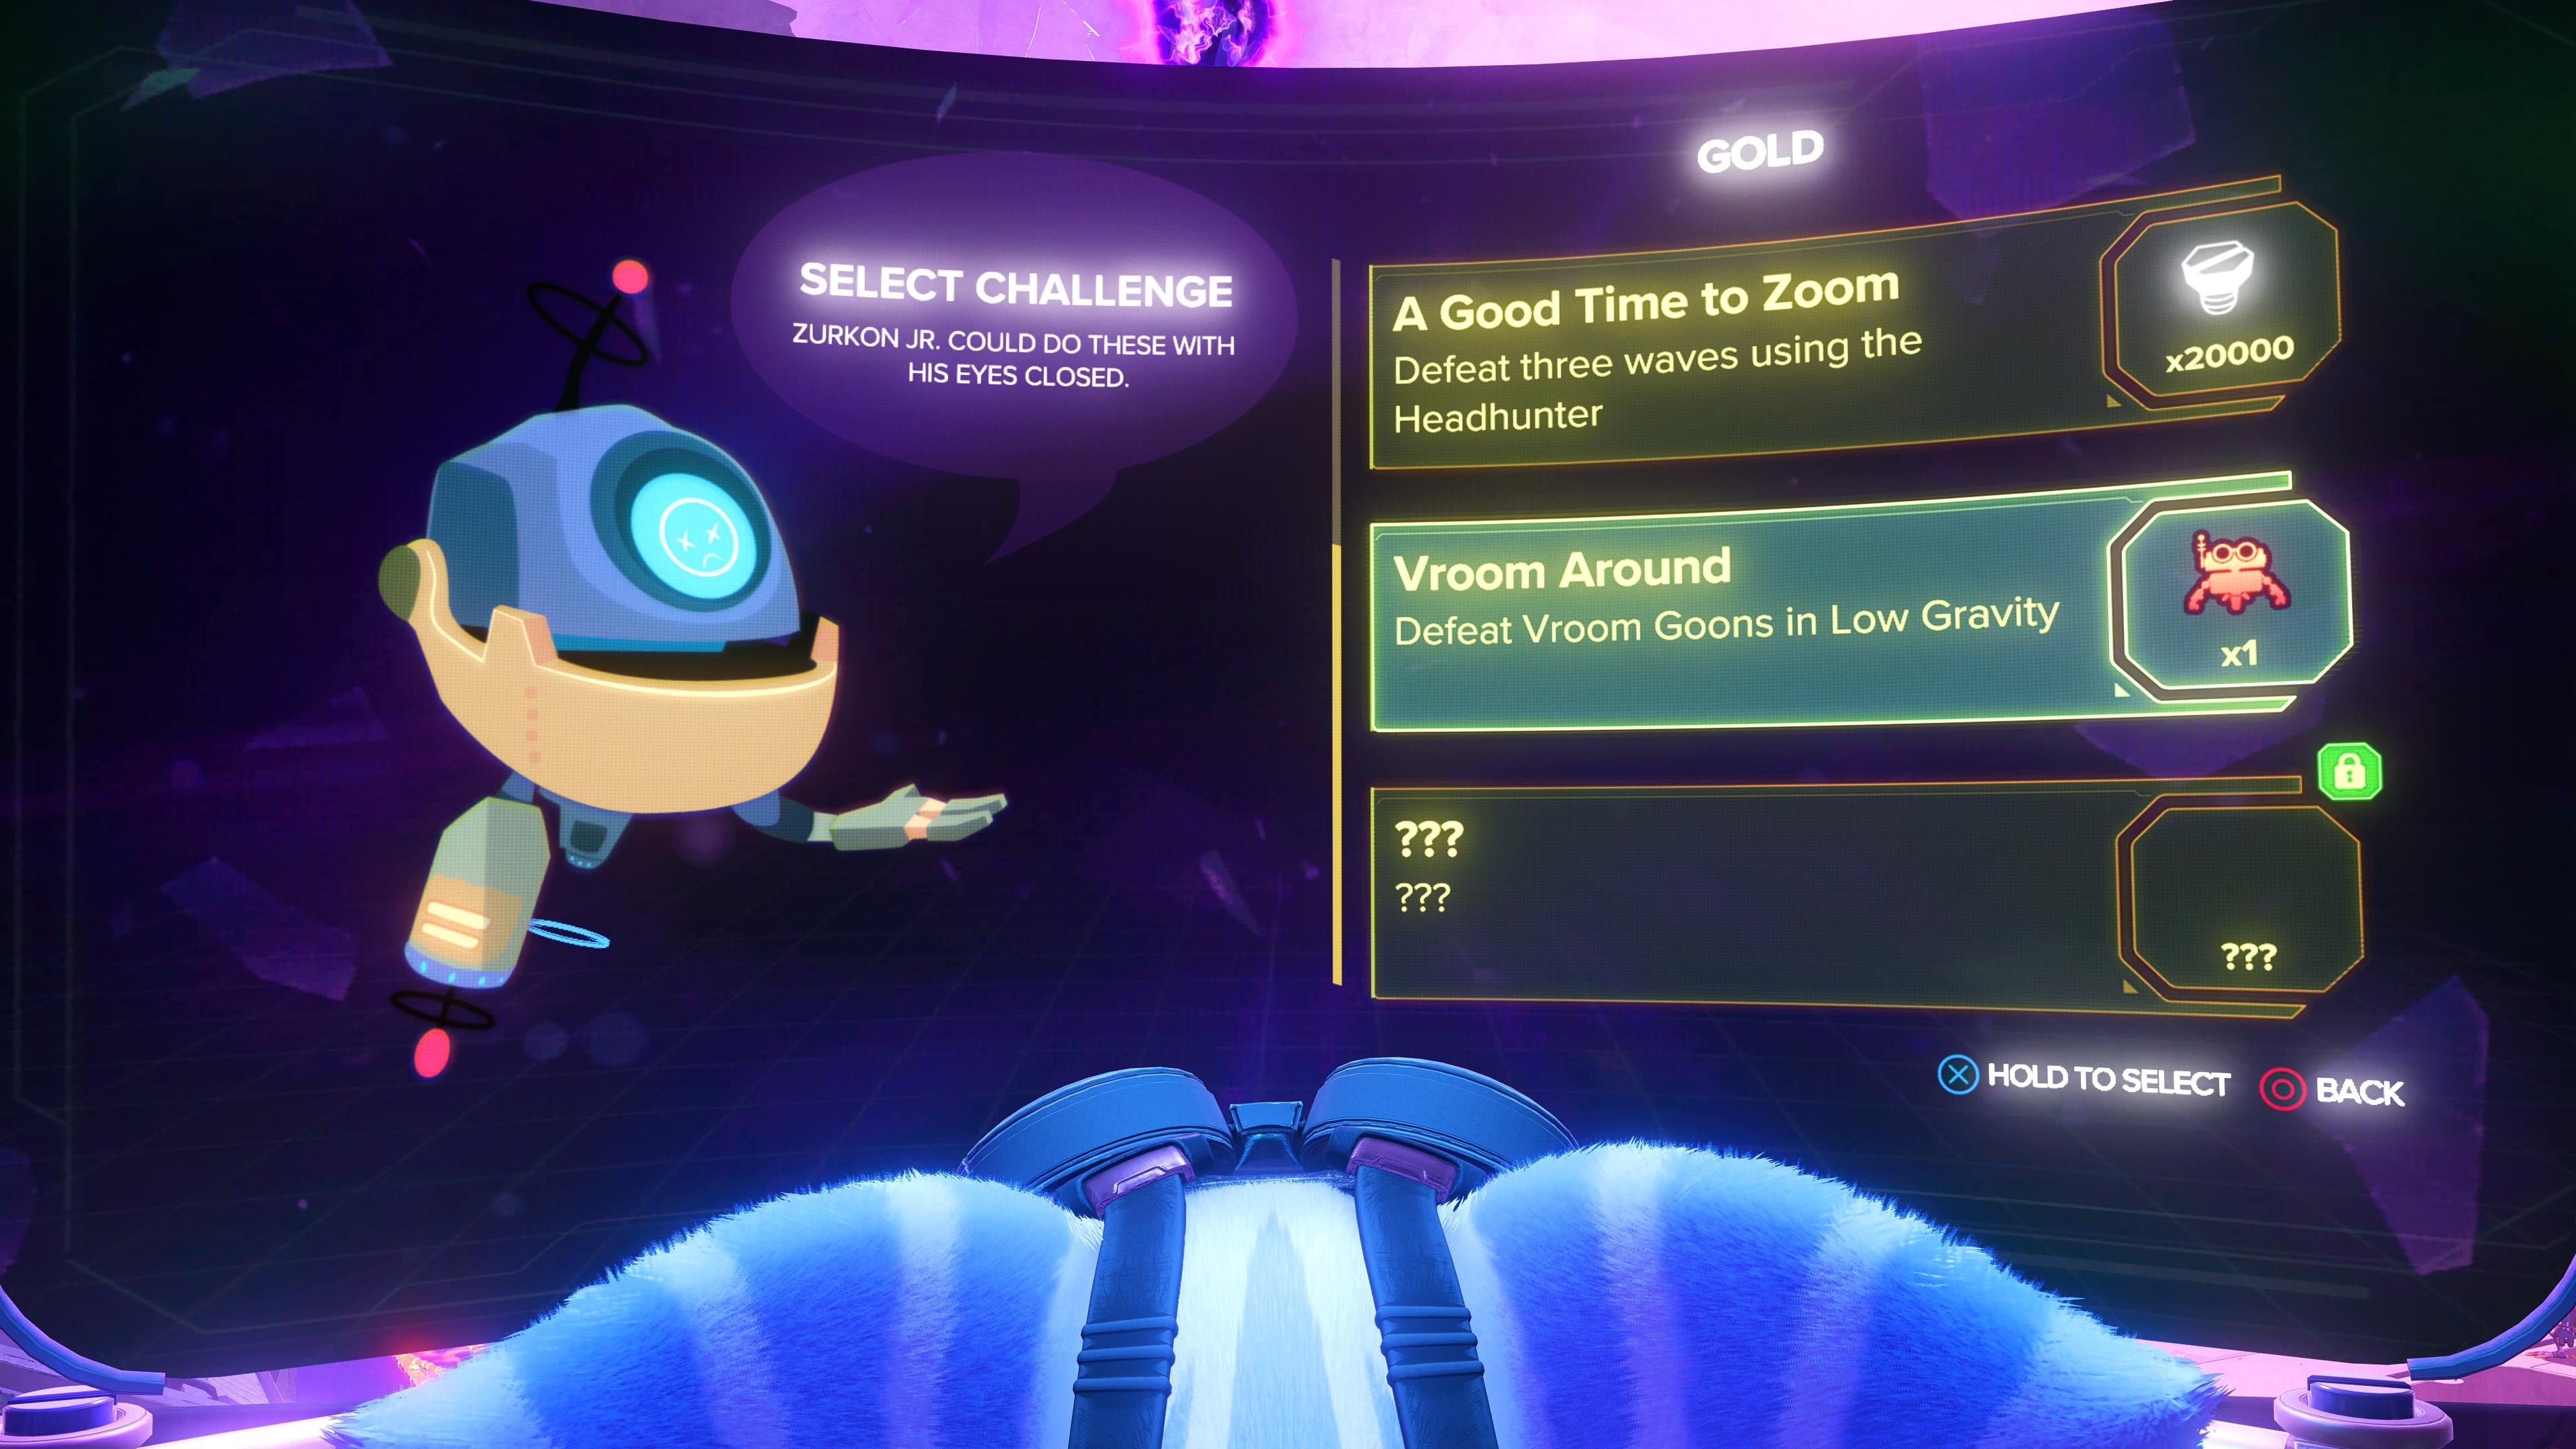
The second Spybot on Scarstu Debris Field is tied to the loonshit challenges. Specifically, you'll demand to finish the golden-tier challenge chosen "Vroom Effectually", in which you must defeat a boss in low gravity. You lot won't unlock the gold challenges until very late in the game, so this could be among the last Spybots y'all collect.
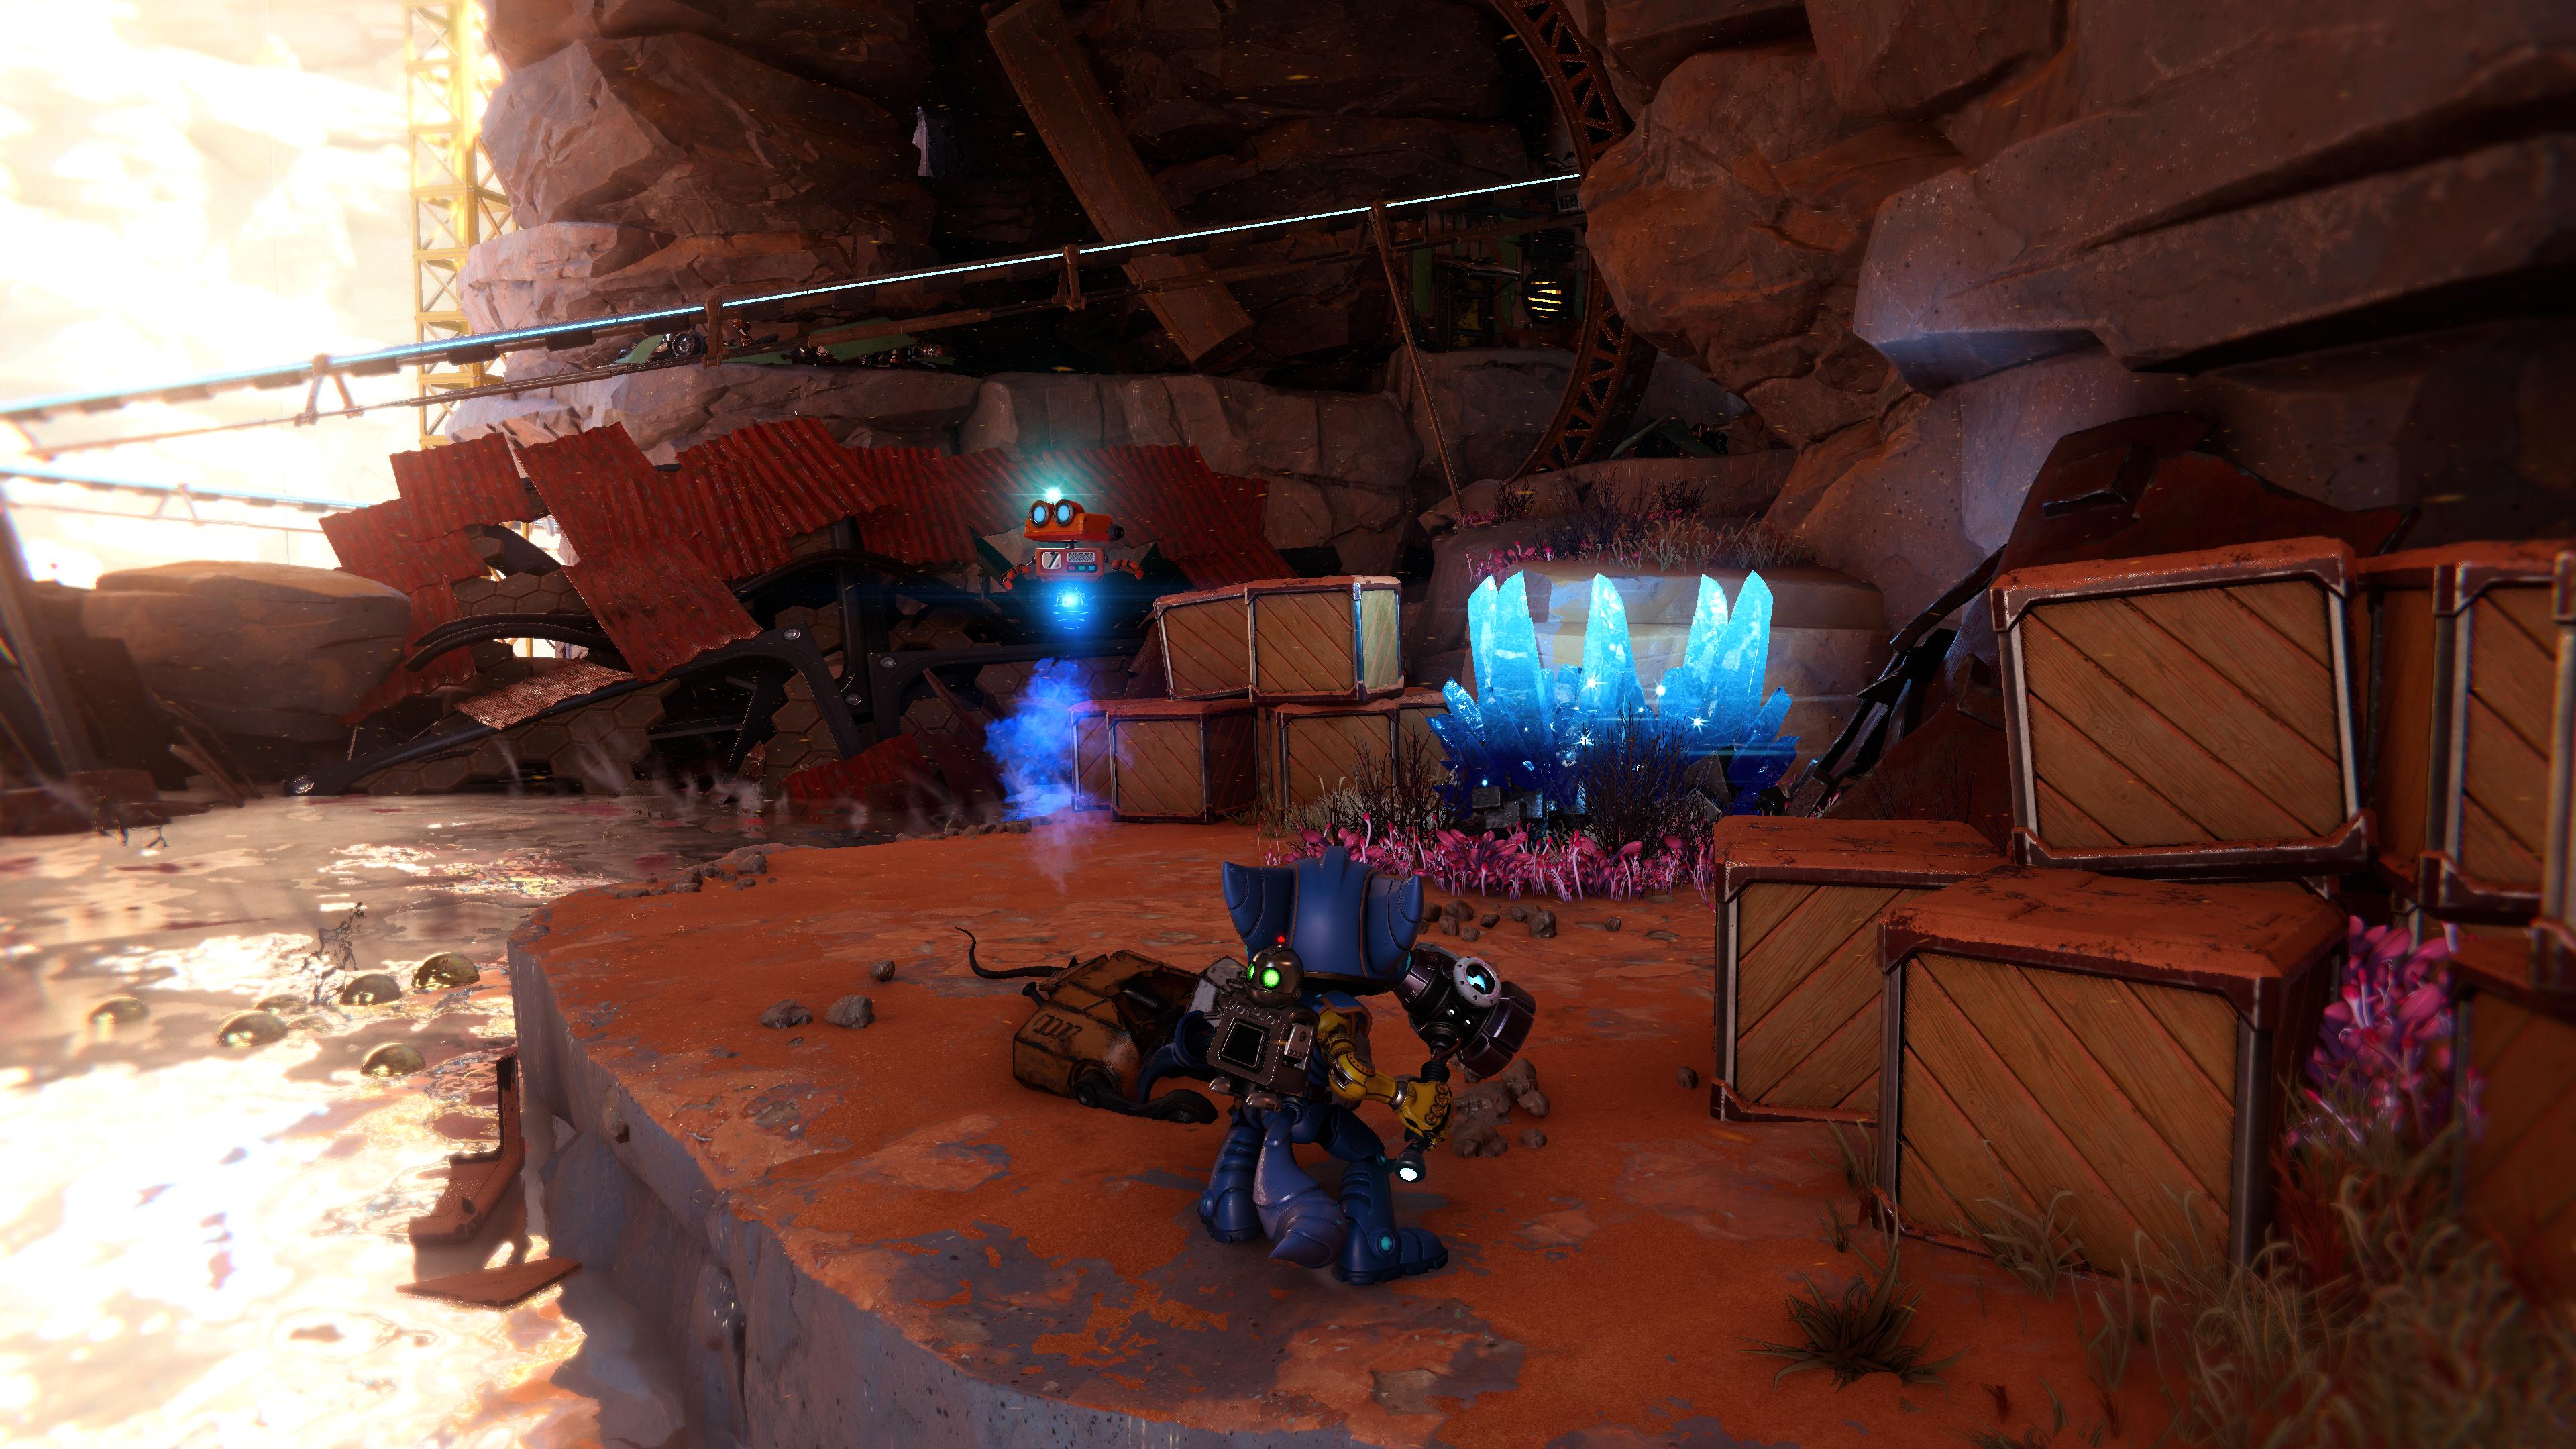
Savali - Spybot #5
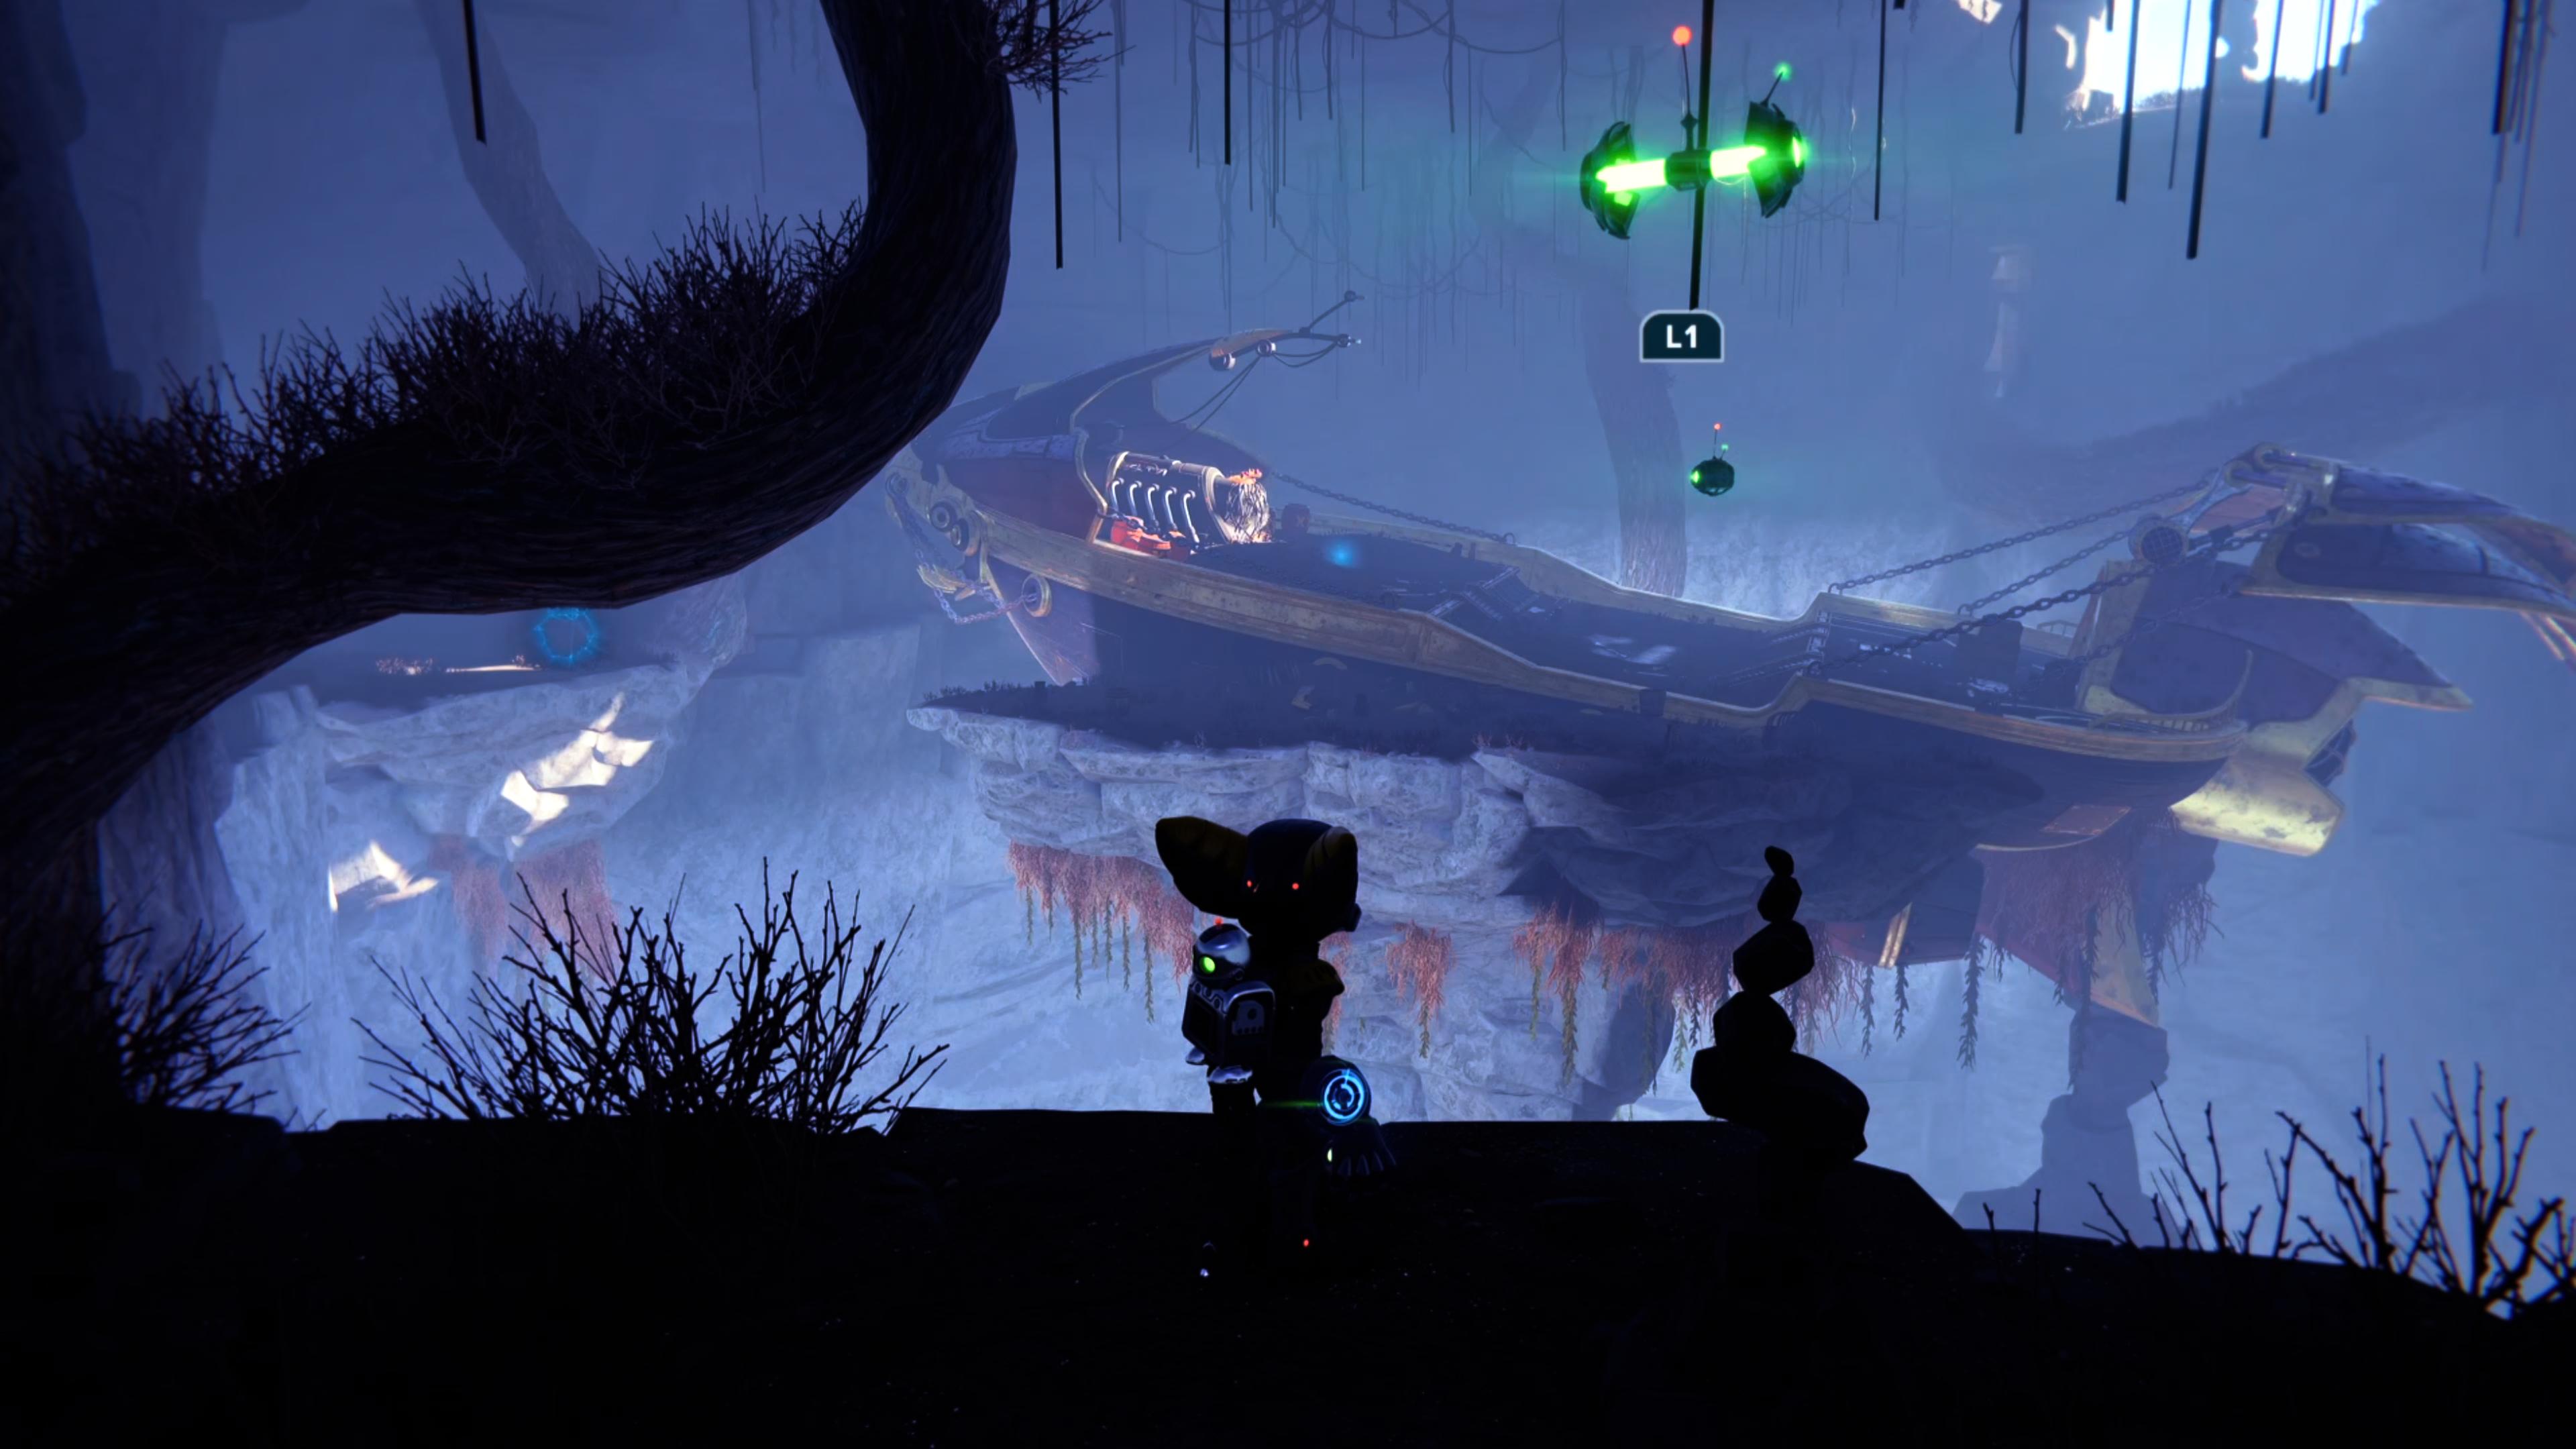
In the Northeast corner of the map, you'll find a broken bridge next to a waterfall. Jump across the ii intact platforms, and y'all'll come to a gigantic cavern containing a pirate transport. (Information technology looks like something out of The Goonies.)
Use the slingshot node to launch yourself onto the deck of the wrecked pirate ship. A Spybot is located here. Be warned: Picking information technology upward will start an deadfall, then be ready for a (pretty easy) fight.
Blizar Prime - Spybot #6
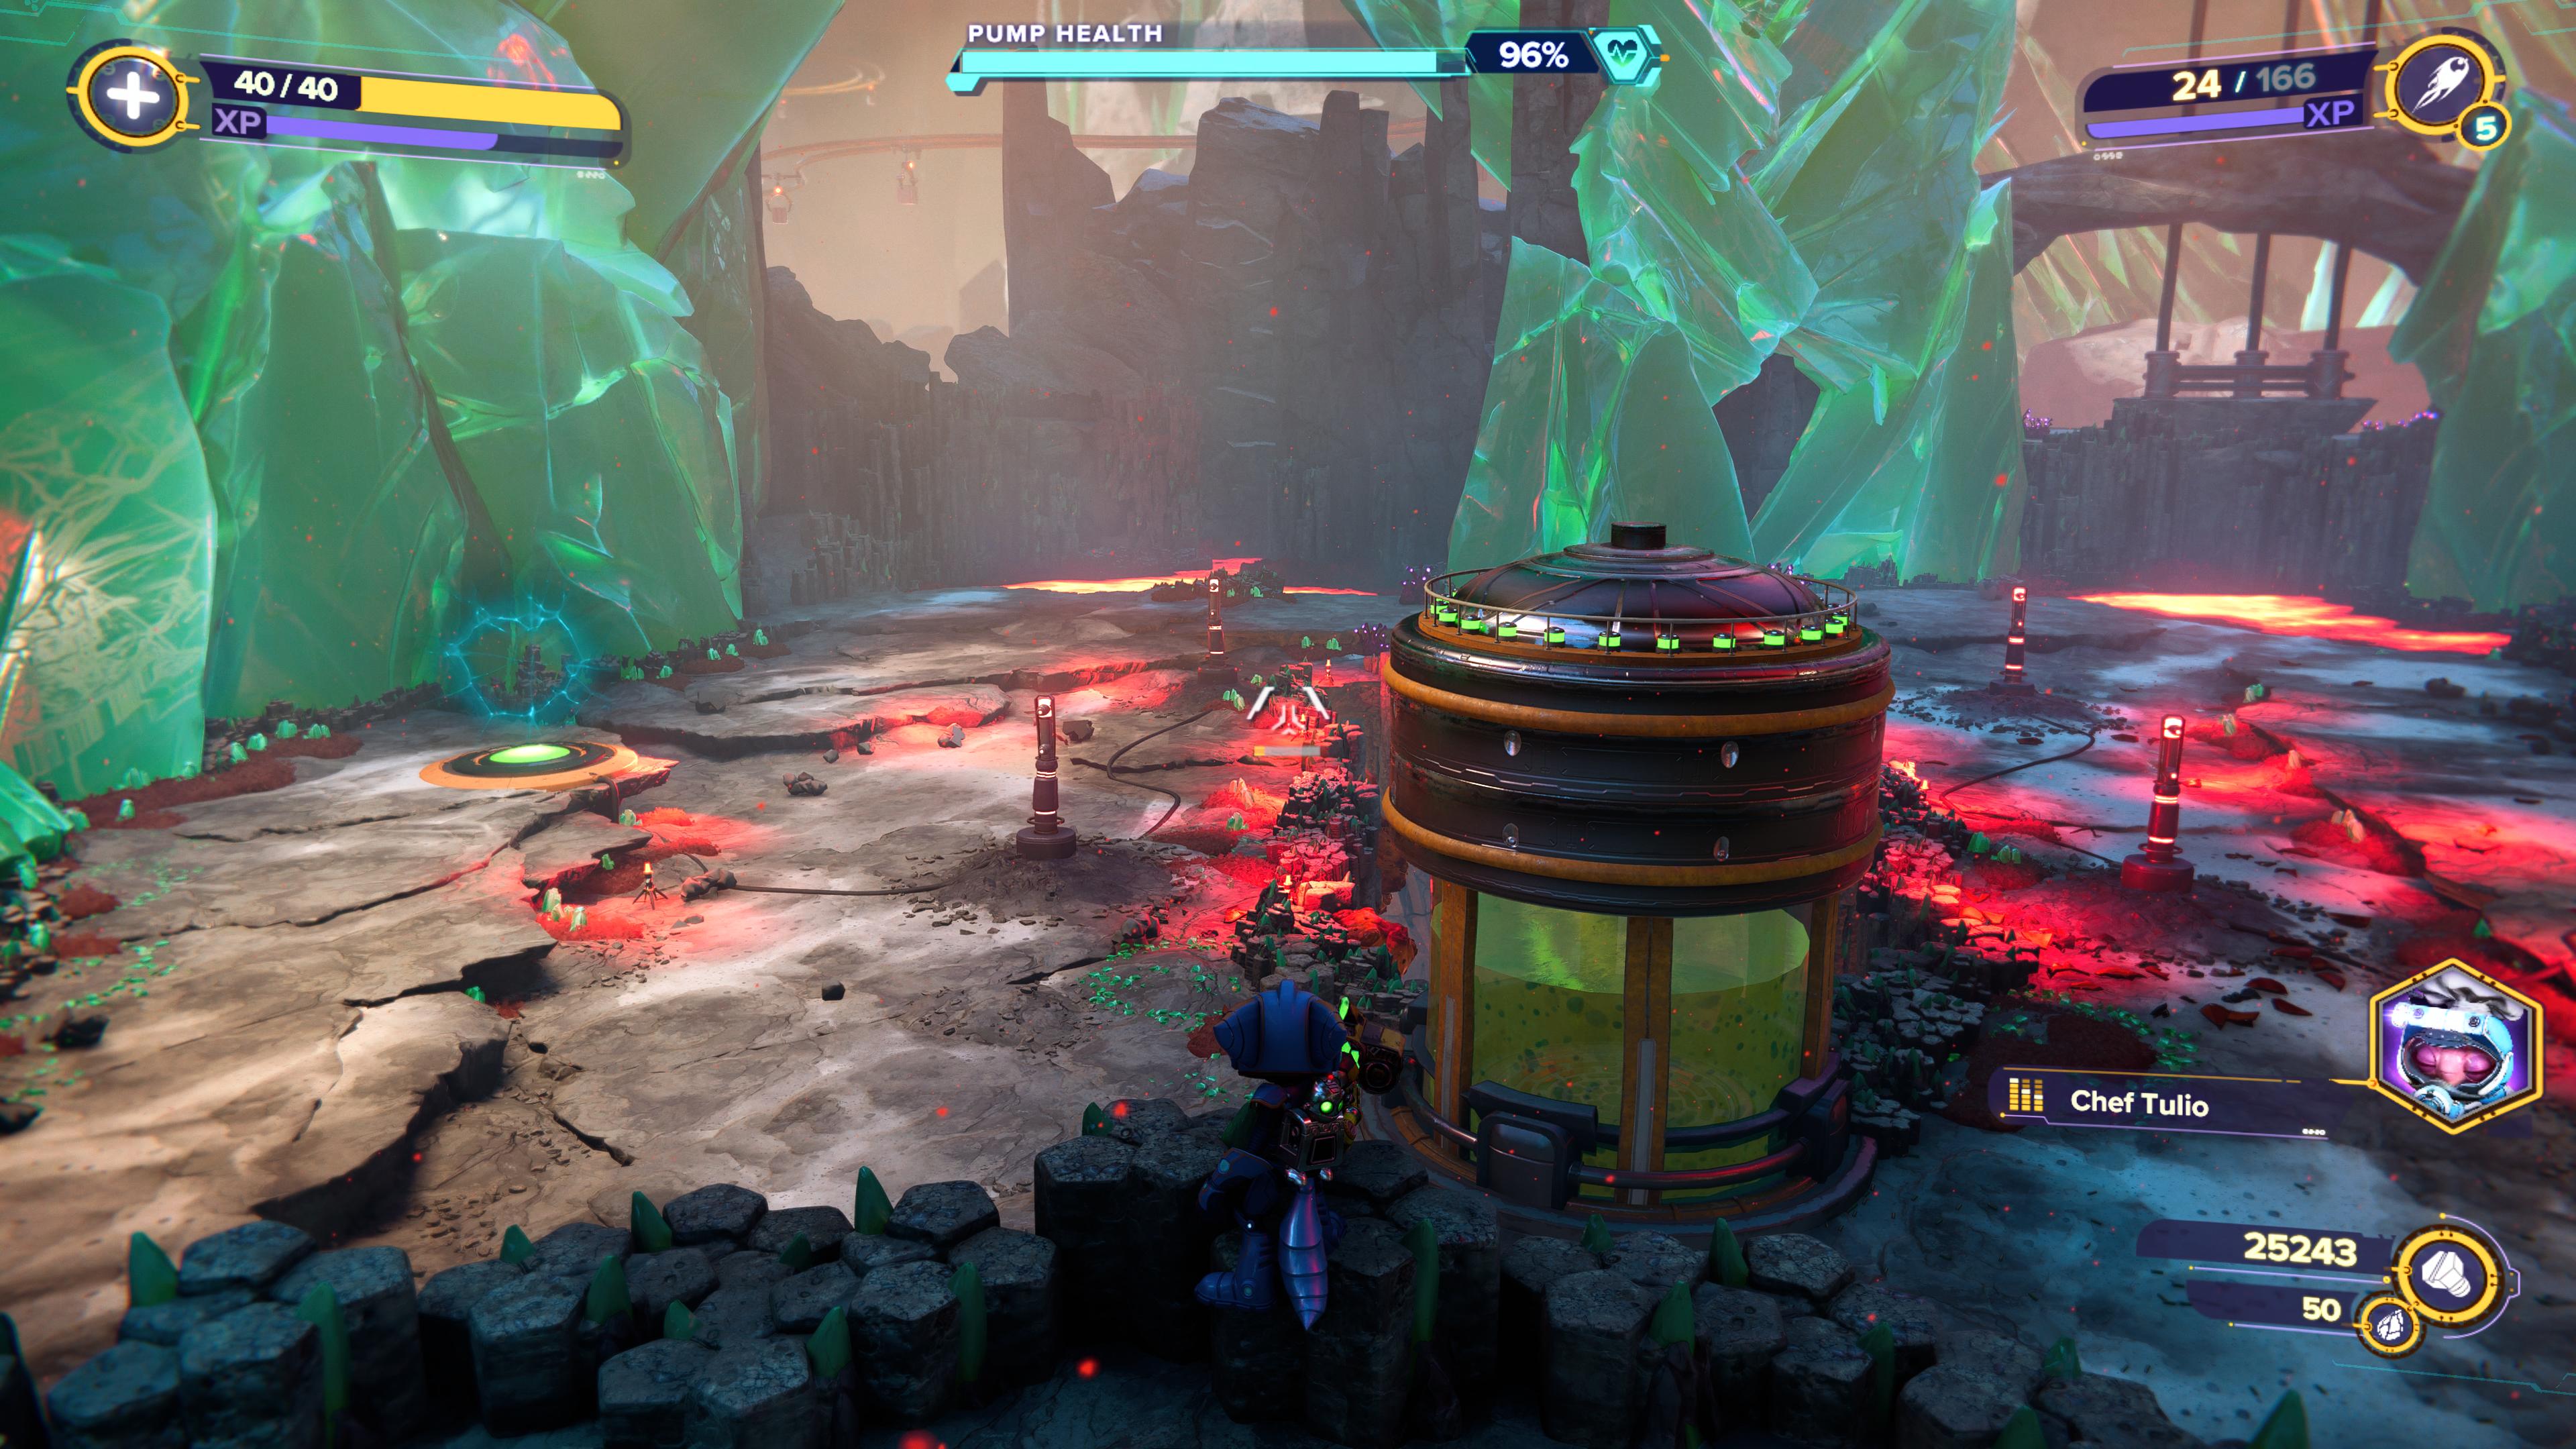
The Spybot on Blizar Prime is another one tied to a side quest. This i is called "Discover the Missing Chef."
You tin start this optional objective from the chief mining platform in the alternative dimension version of the planet. Information technology's pretty difficult to miss this quest, but don't forget yous've got a map marker to help guide yous equally well.
In one case you've located the missing chef, they will inquire you to defend a dearest-extracting machine from several waves of enemies. Subsequently doing this, the chef will give you a Spybot as a reward.
Do note: Multiple players have reported that this mission is buggy. Sometimes, the waves of enemies don't spawn, or some foes will go stuck in the lava pools at the back of the arena. You might have to restart this quest a couple of times in order to successfully complete it.
Cordelion - Spybot #7
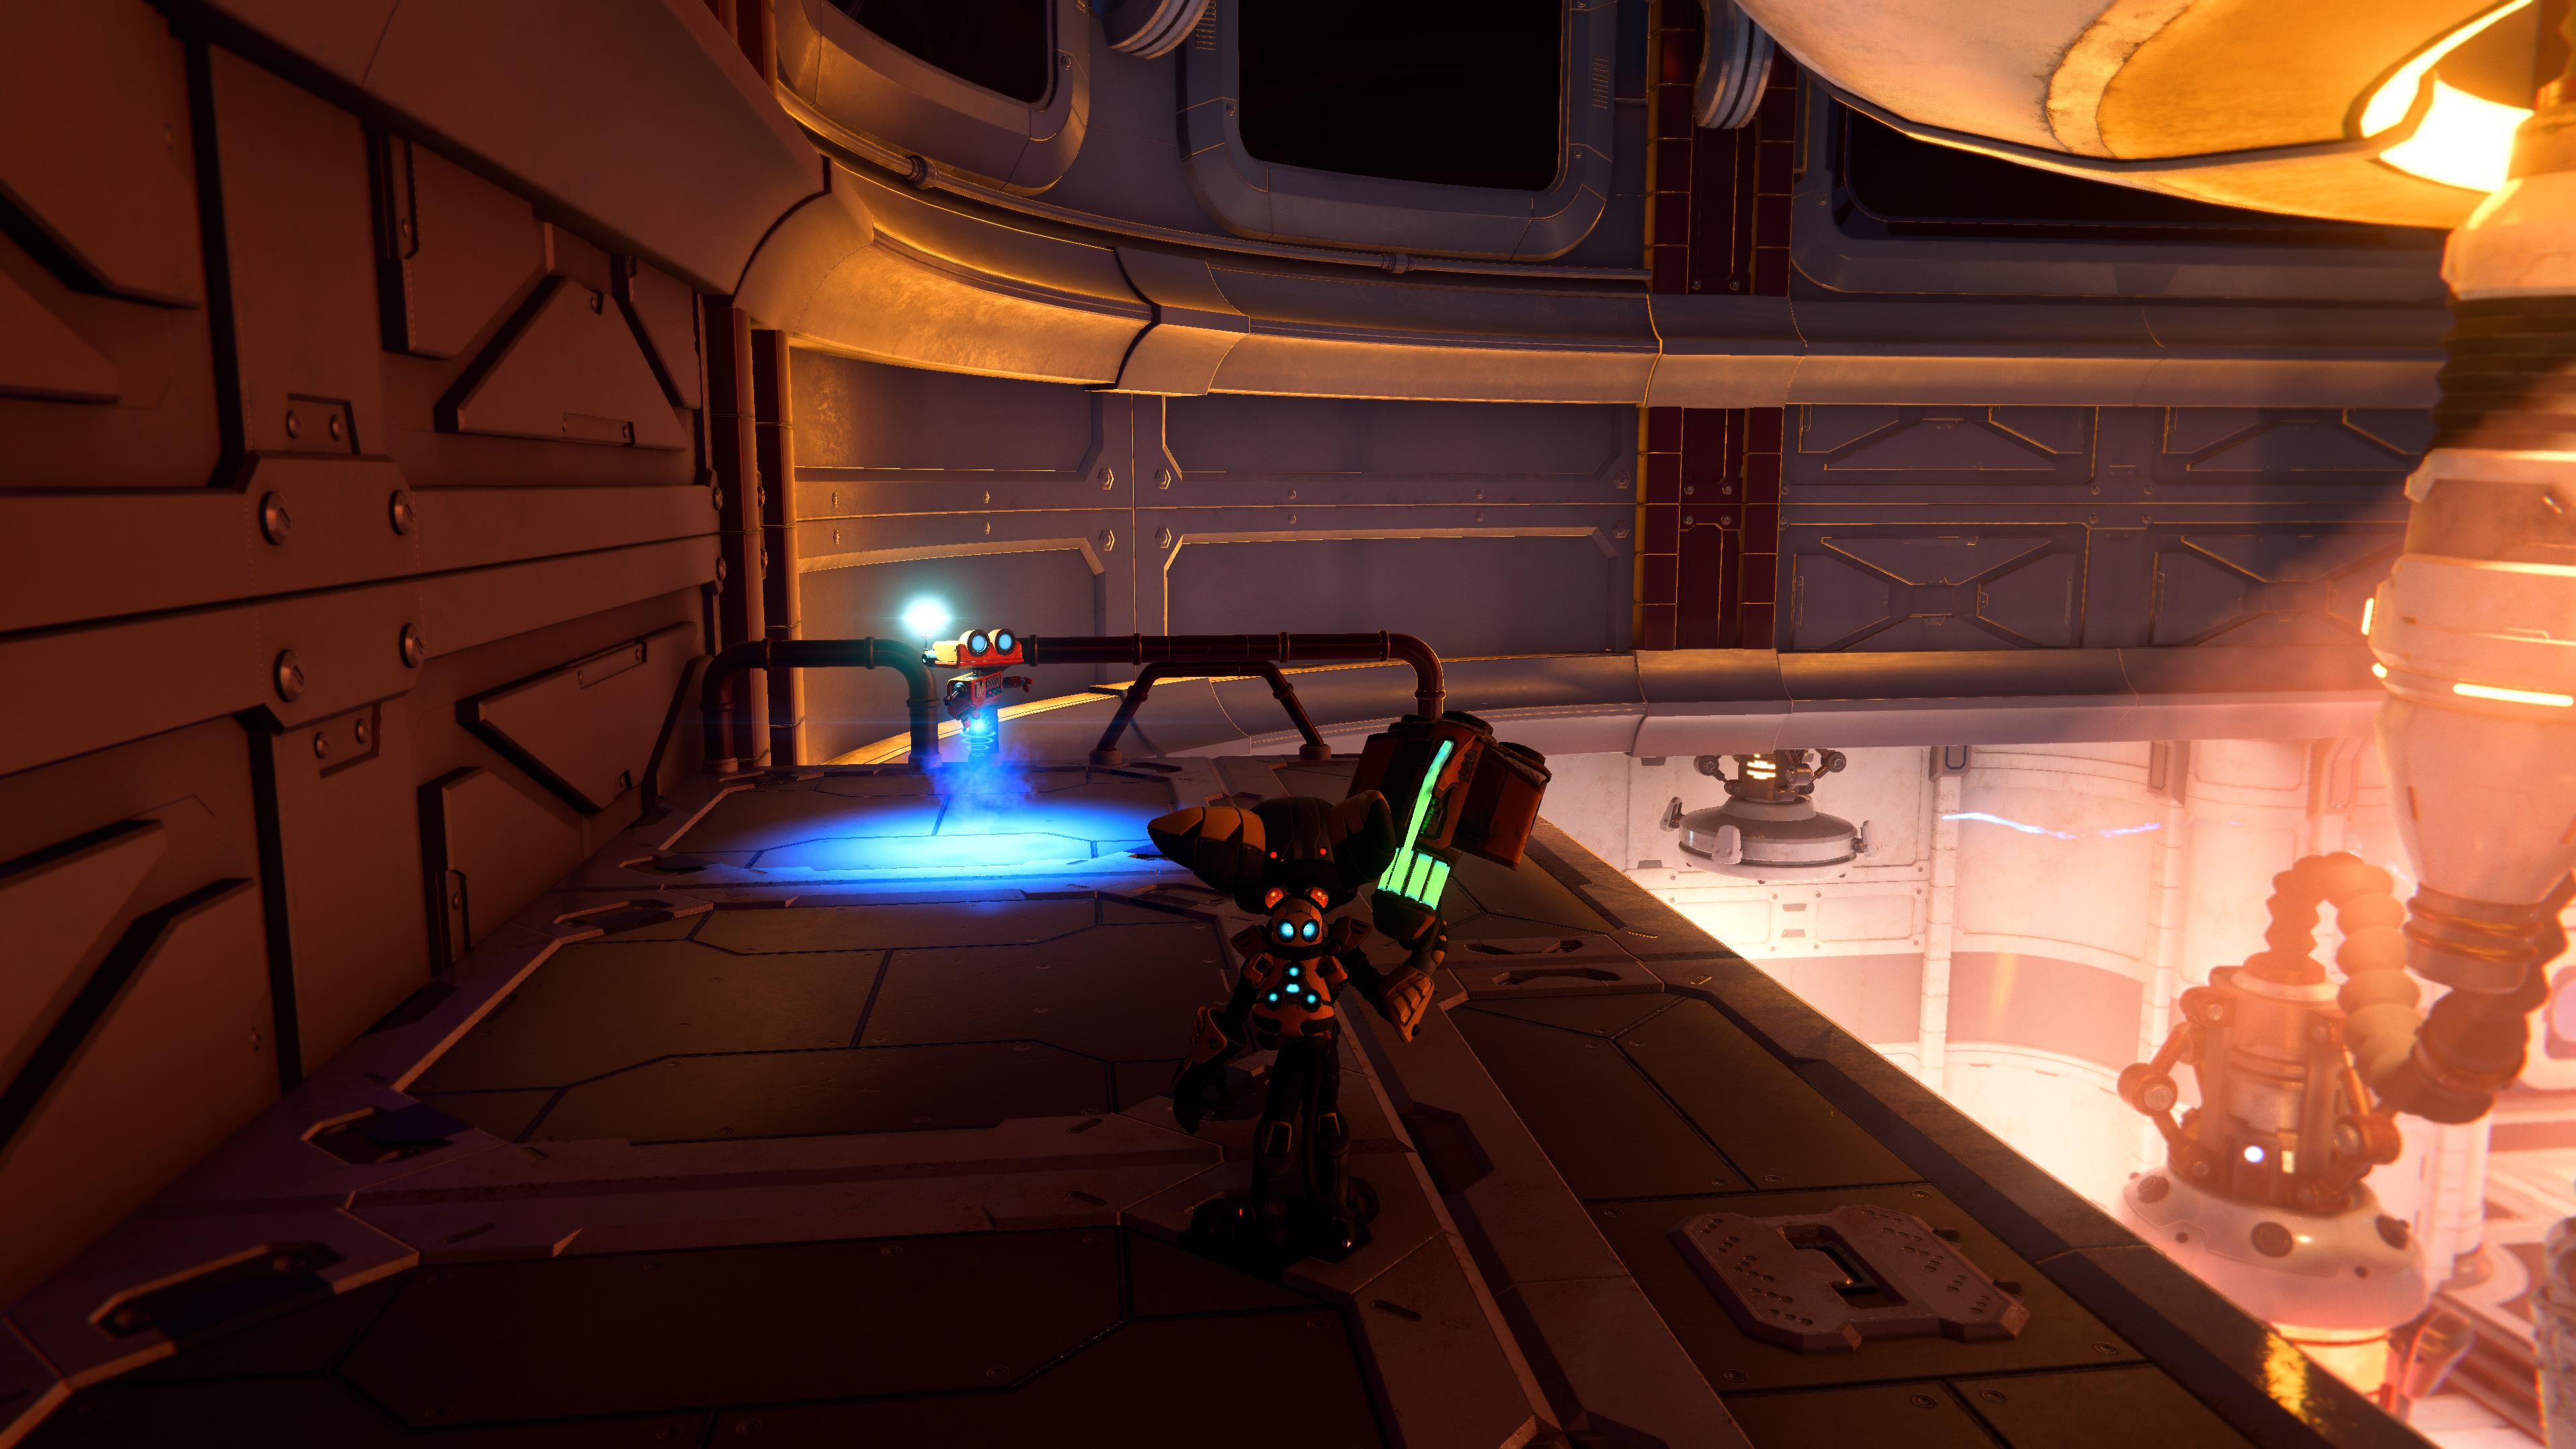
This Spybot is fairly easy to miss. In the main forge room of the facility (you'll know yous're there, as a cutscene plays the minute you lot enter), the Spybot is above the main door where you enter the room is a ledge. Apply the rift to pull yourself up and grab the Spybot. Y'all can't obtain this bot in the abased facility dimension.
Torren V - Spybot #viii
Subsequently platforming across a large gap using the slingshot and wall run abilities, correct at the start of the level, take an immediate right instead of going straight ahead and entering Little Junkton.
This alley volition pb you to a magnetic walkway. Run down this pathway (simply sentry out for the pair of bugs that volition attack you), and y'all'll stop up in an secret cave, called Fasten'southward Grotto. The Spybot should be right in front of yous.
Ardolis - Spybot #9
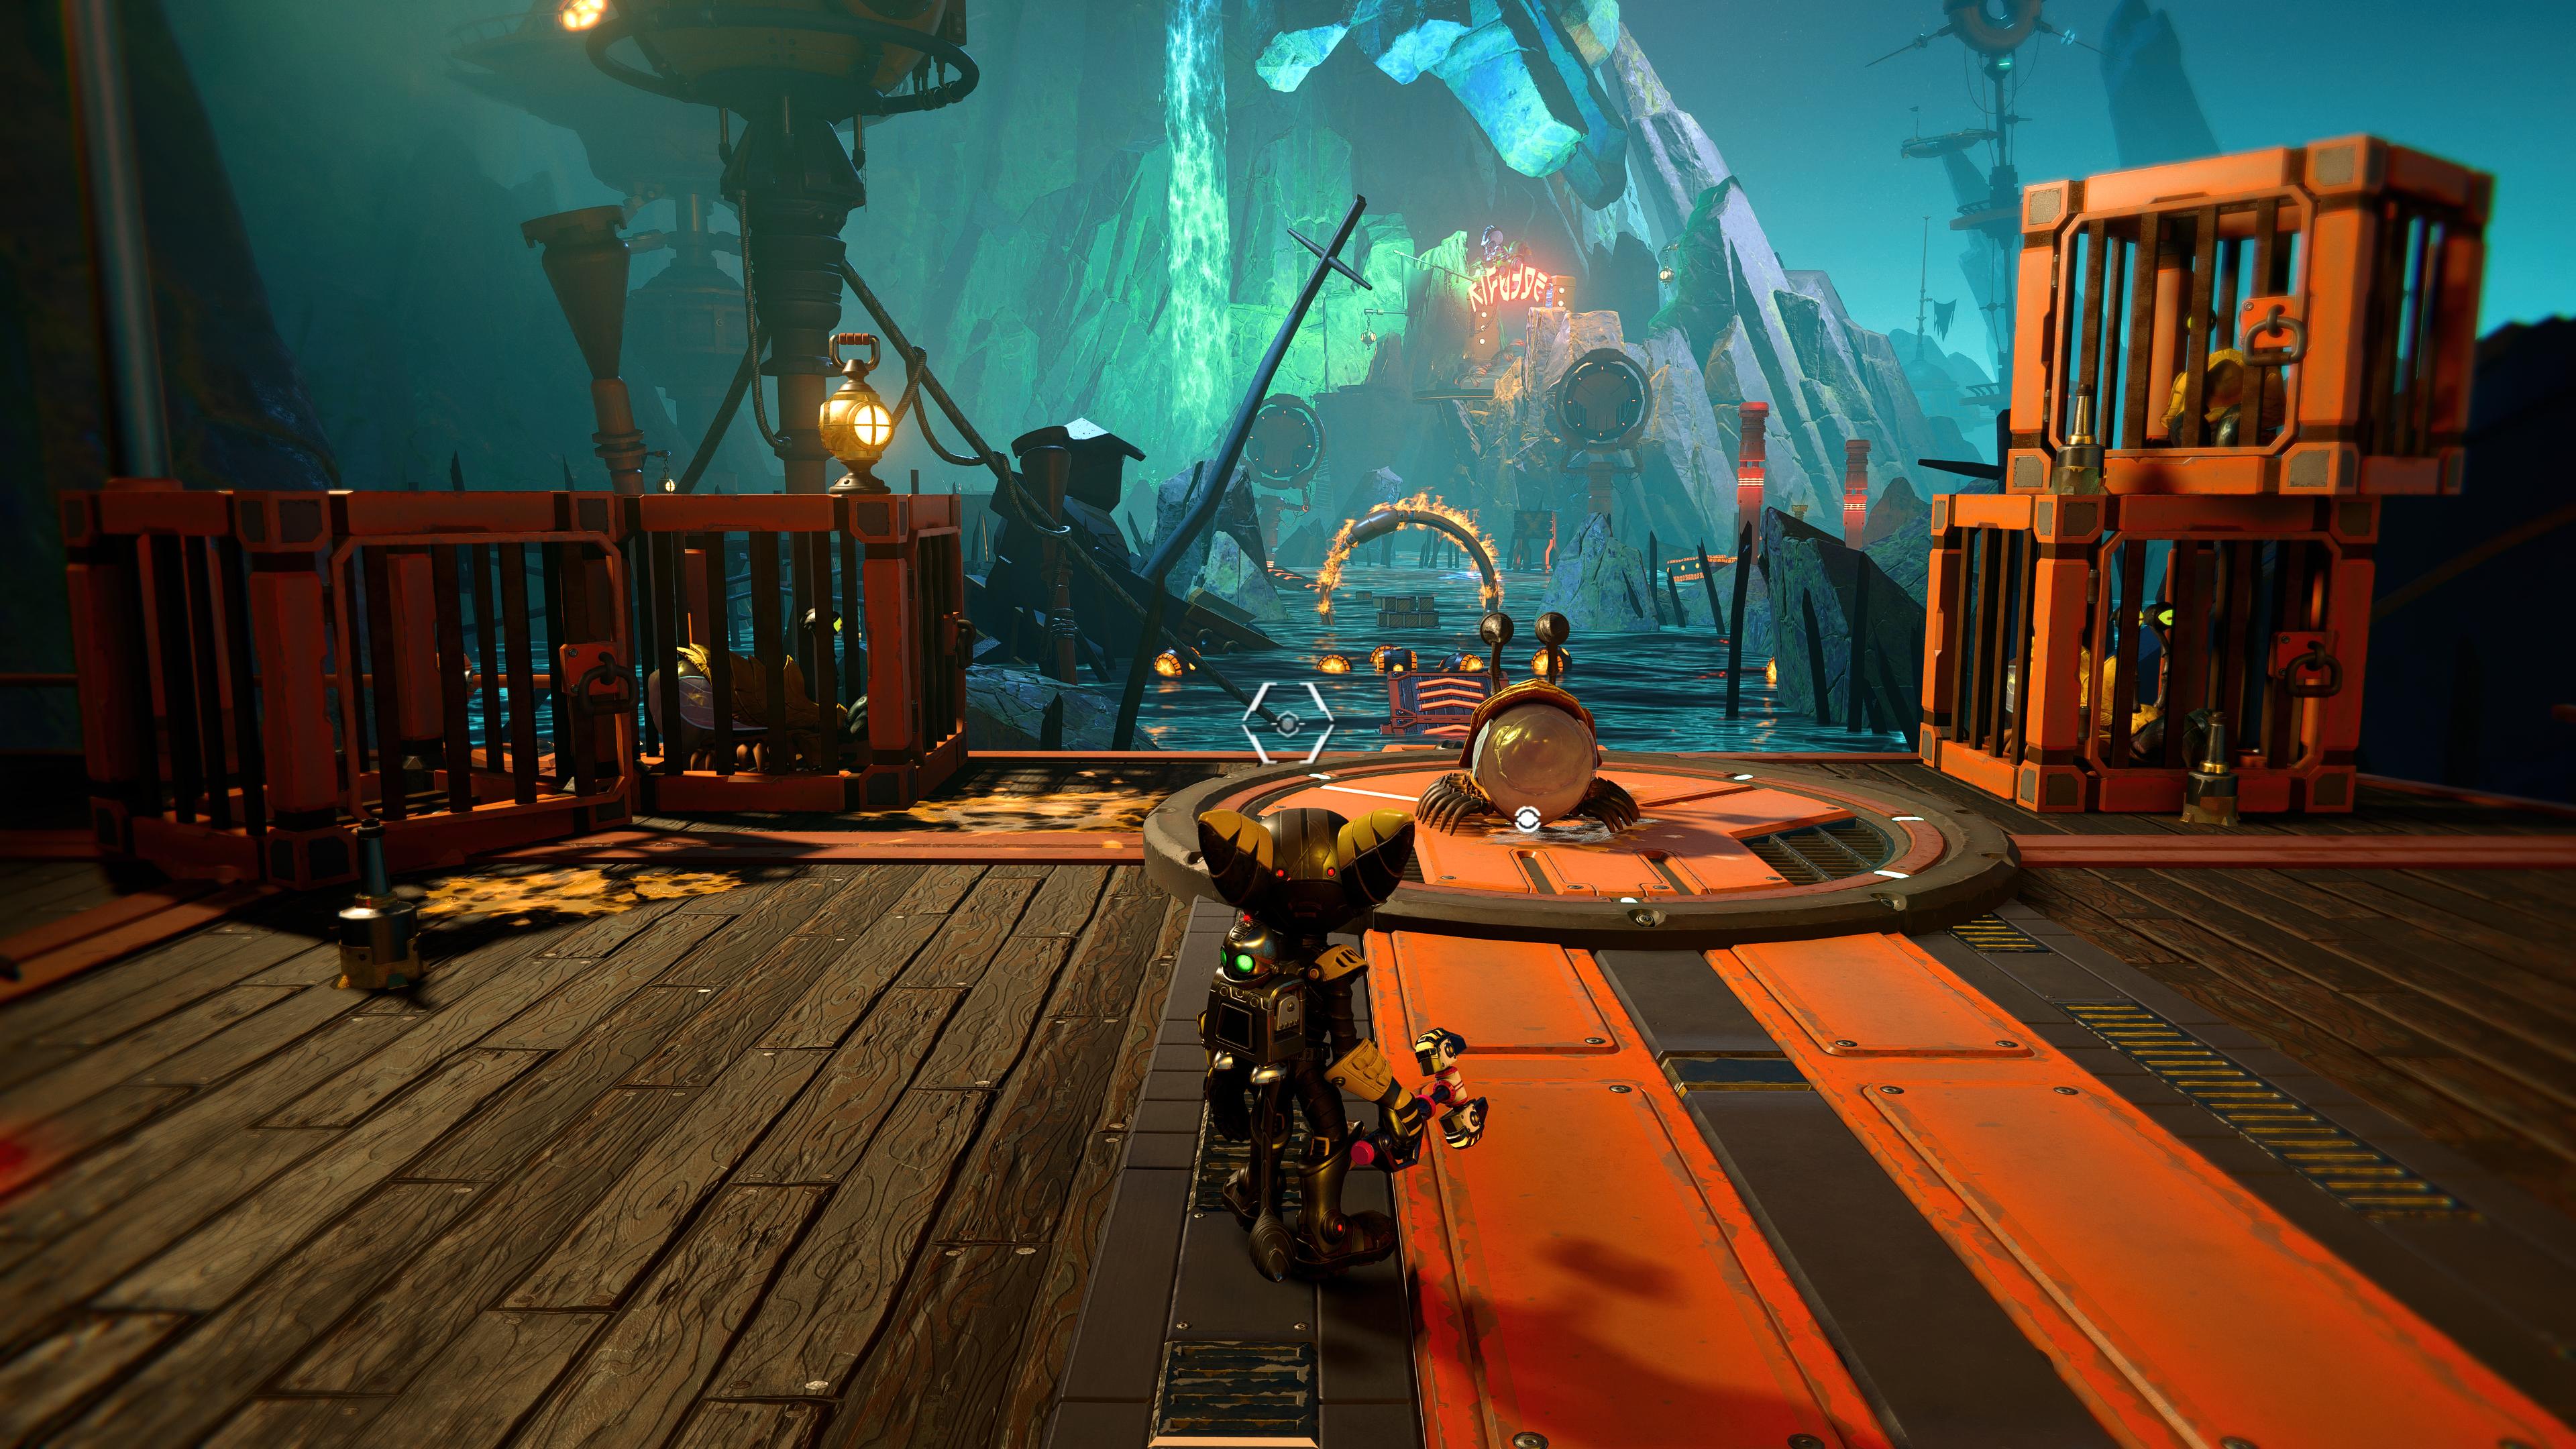
After freeing Pierre Le Fer from pirates, which is office of the main quest, yous'll find yourself at the commencement of a speed beetle course.

Take a hard right after going through the first flaming ring on this course, and and so simply follow the linear path in front of you until it leads you to a pocket-size island where yous'll find the Spybot.
Viceron - Spybot #x
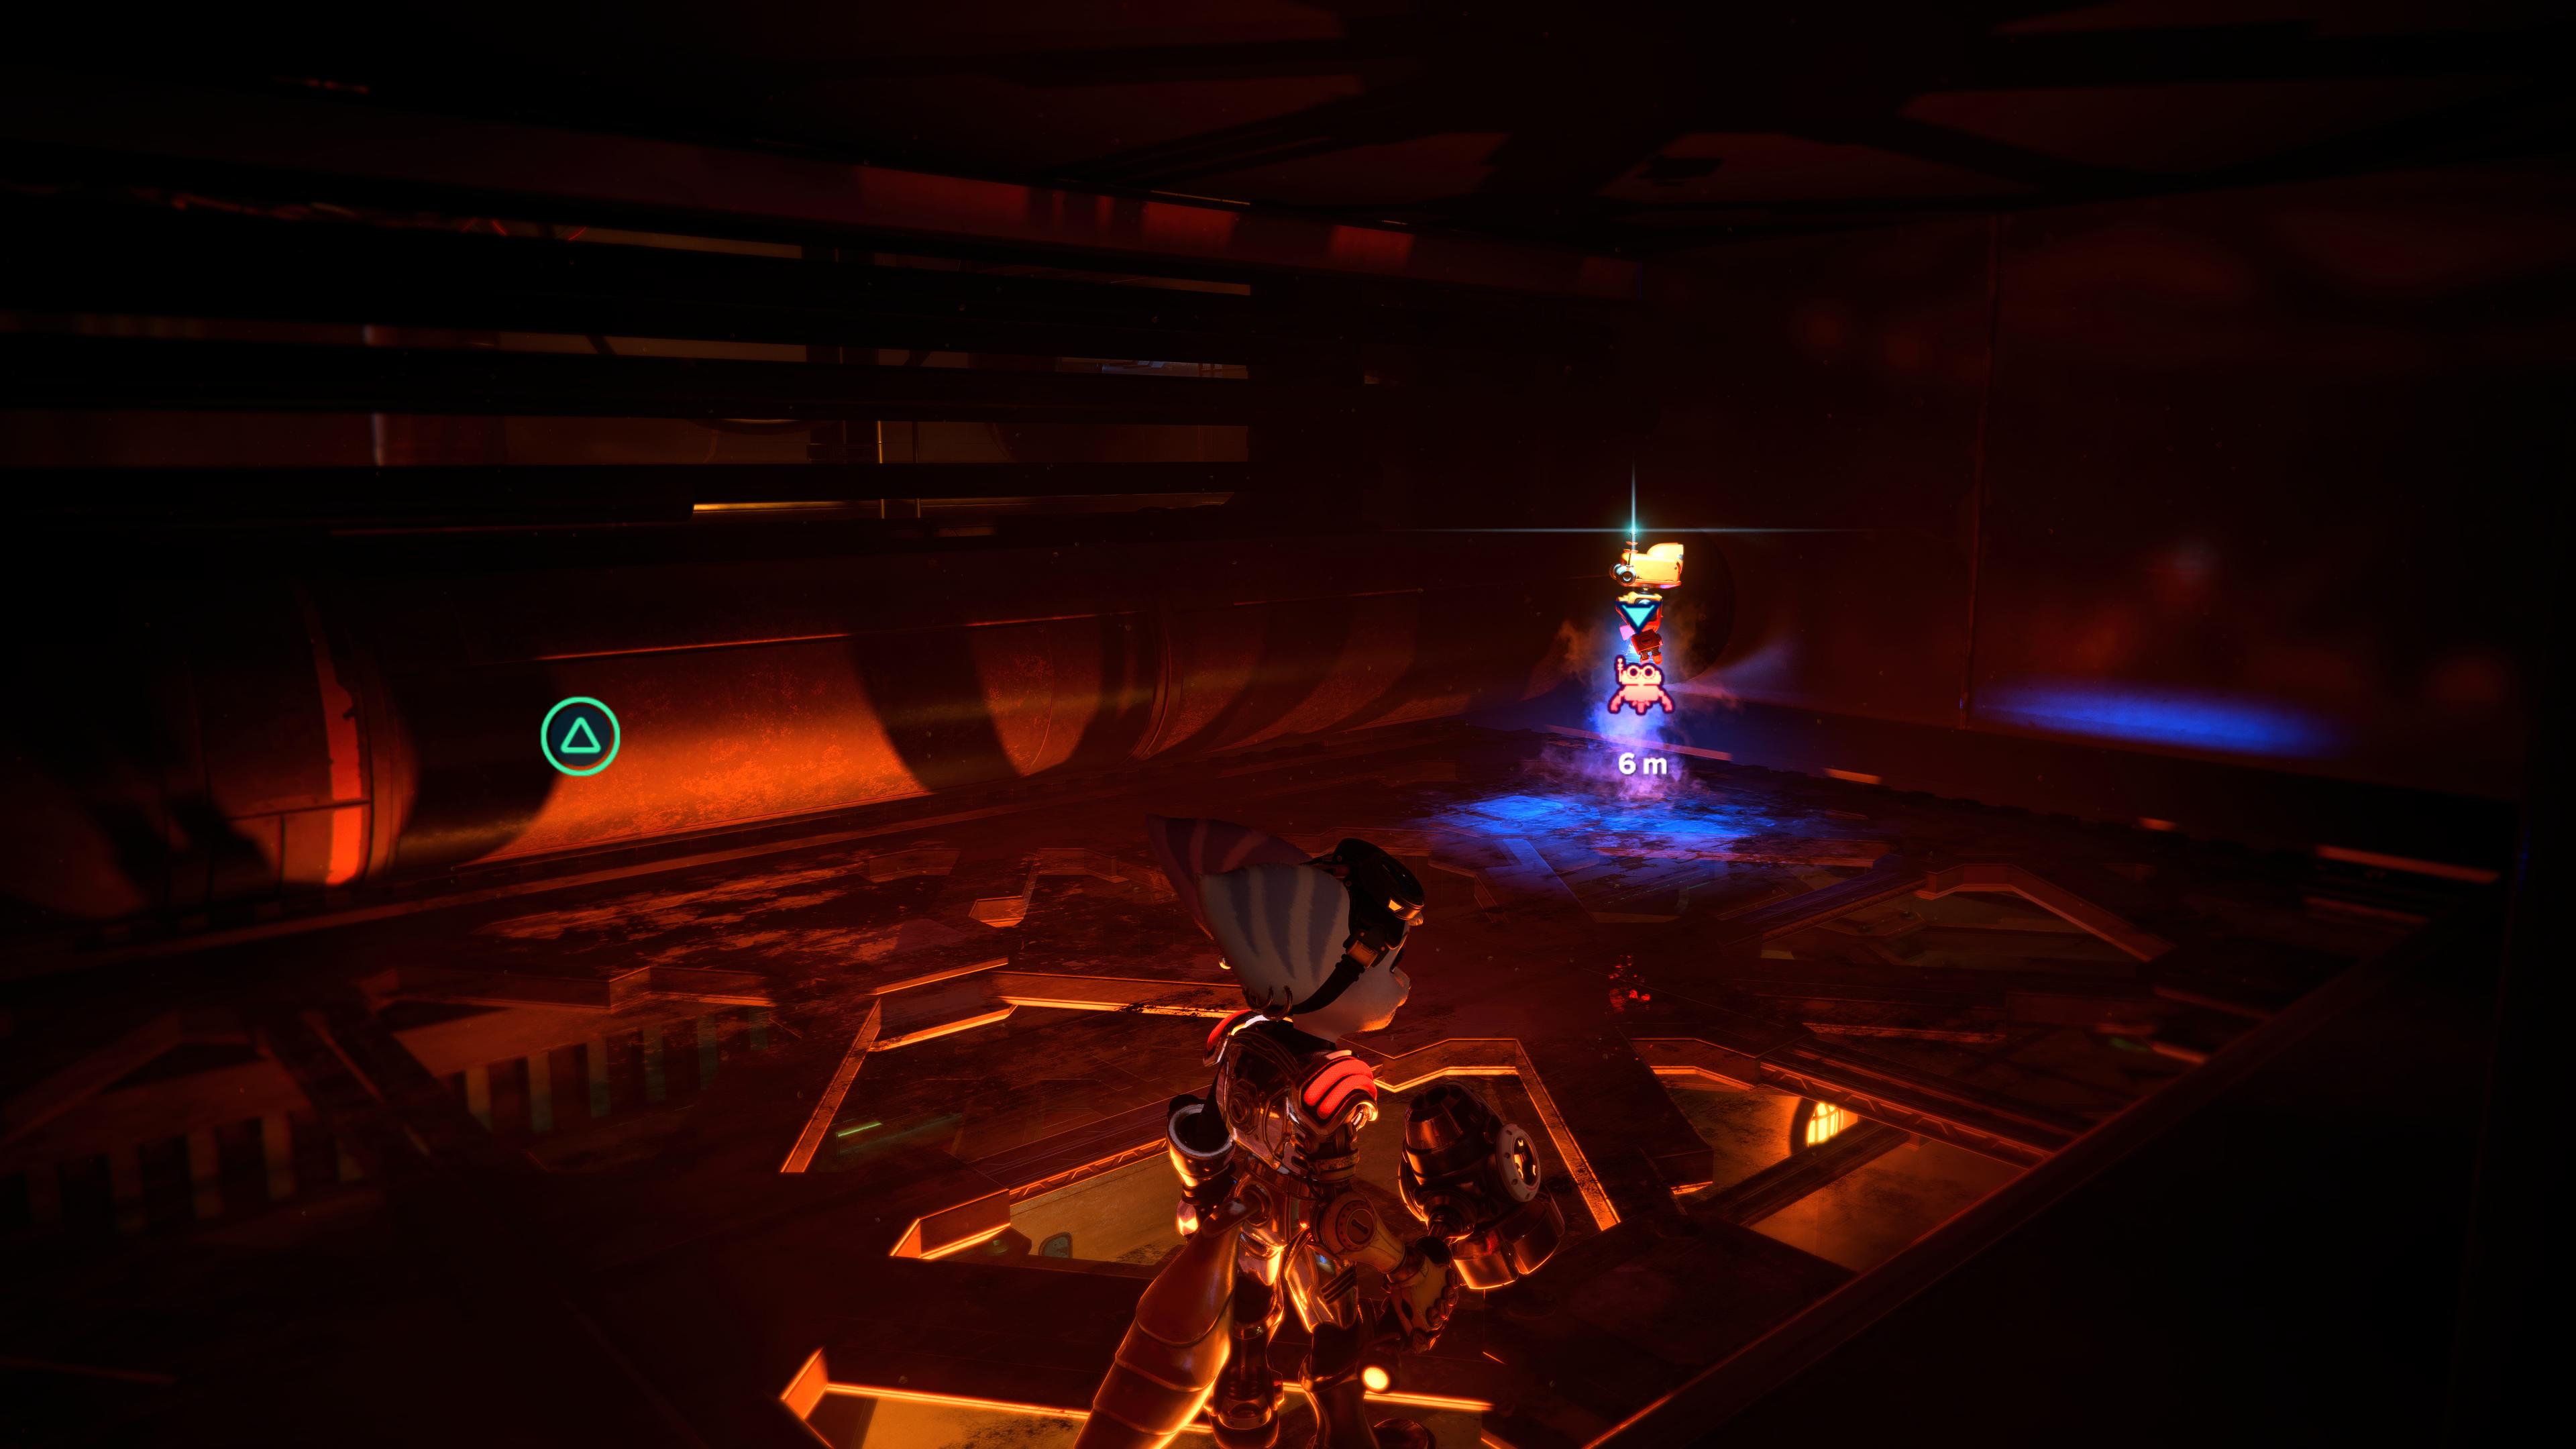
While itch through the ventilation shafts above the processing eye, take the first available right to find a subconscious room containing the final Spybot.
The subconscious room is located behind some pipes and vents, but is generally pretty easy to spot. You shouldn't have much trouble finding information technology. Just don't drop out of the vents until you've collected the bot.

Source: https://www.tomsguide.com/news/ratchet-and-clank-rift-apart-how-to-unlock-the-ryno-8-complete-spybot-location-guide
Posted by: carpentieronsus1988.blogspot.com
0 Response to "Ratchet & Clank: Rift Apart how to unlock the RYNO 8 — complete Spybot location guide"
Post a Comment